Installing Workflows in Epi2me
| Document: | installing-workflows-tutorial-v1.0 |
| Creation Date: | 2026-03-26 |
| Last Updated: | 2026-03-26 |
| Author: | Áine O'Toole, Kate Duggan & Daniel Maloney |
| Licence: | Creative Commons Attribution 4.0 International License |
Installing Epi2Me
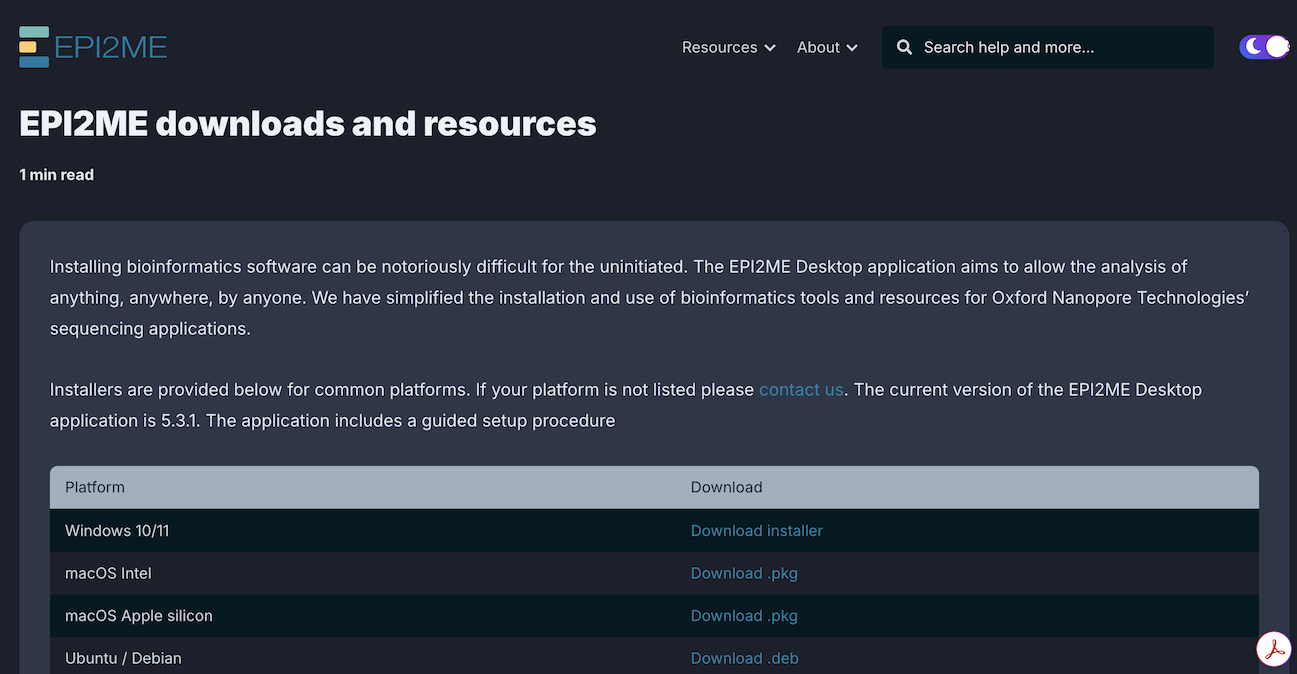
1. Download and install EPI2ME
Download the appropriate installer for your system from the EPI2ME website:
Additional instructions for installation can be found here:
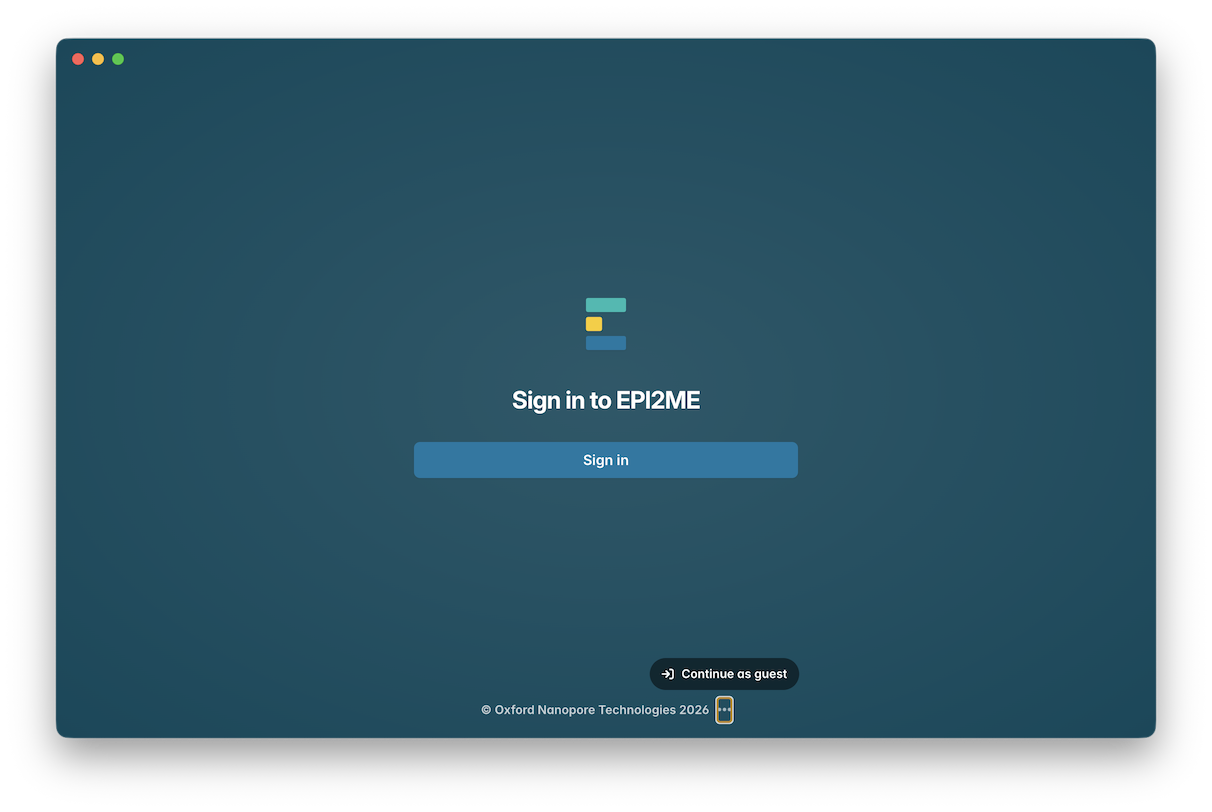
2. Launch EPI2ME
Once you have successfully installed, launch EPI2ME. To access EPI2ME without creating an account, click on the three dots at the bottom of the window, and click “Continue as guest”:
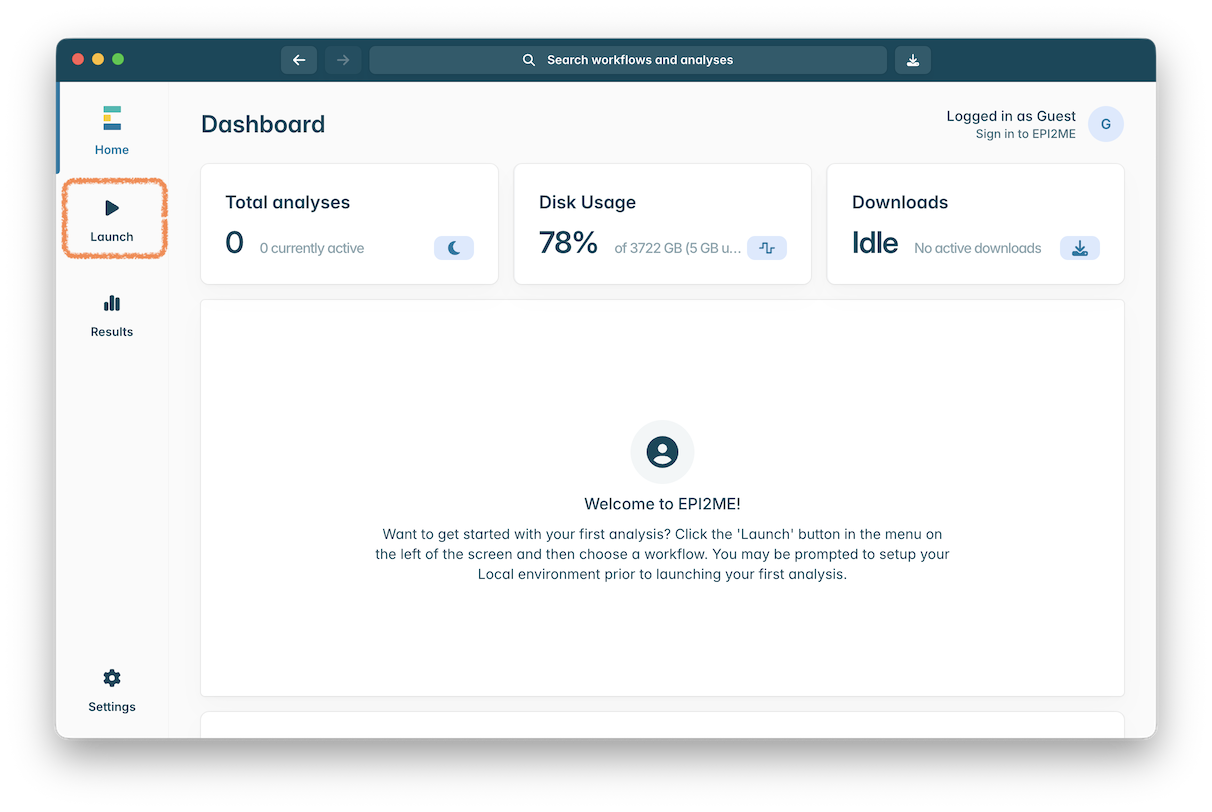
3. Import Workflows
When you have successfully launched EPI2ME, you should see the following screen. To install a workflow, click to open the “Launch” window in the panel on the left hand side:
Click on “Import workflow” in the top right of the window, and then “Import from GitHub”:
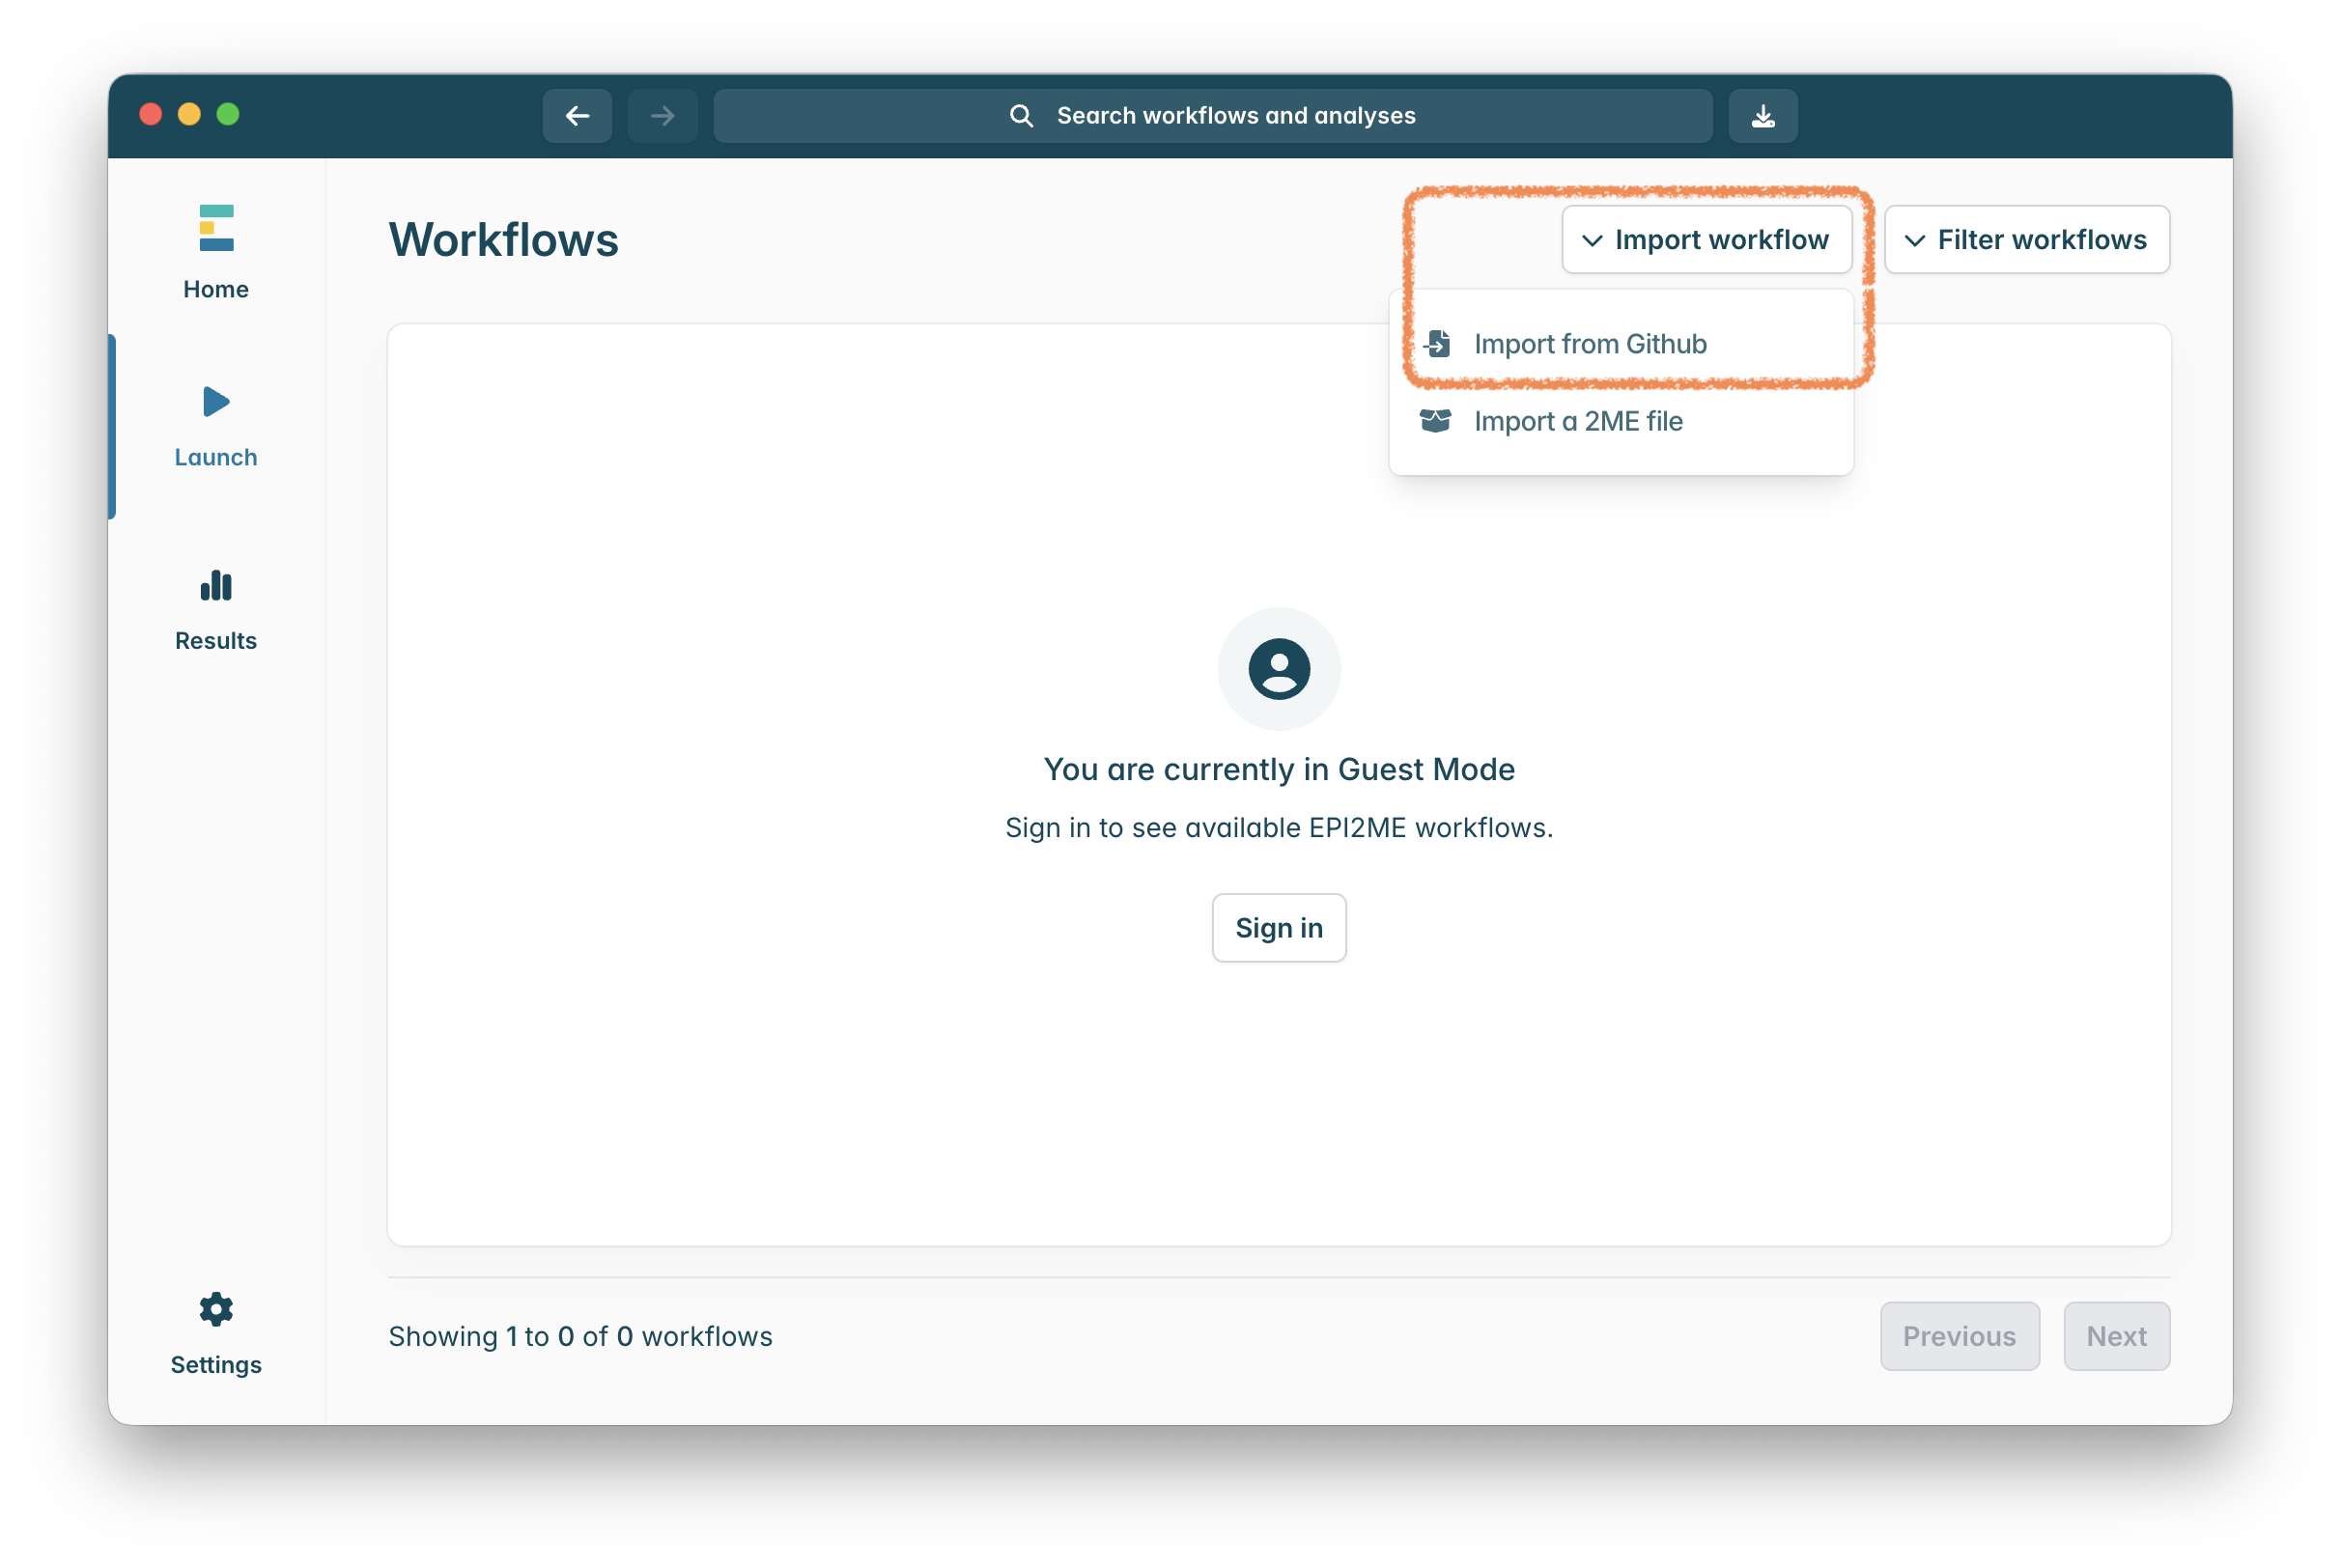
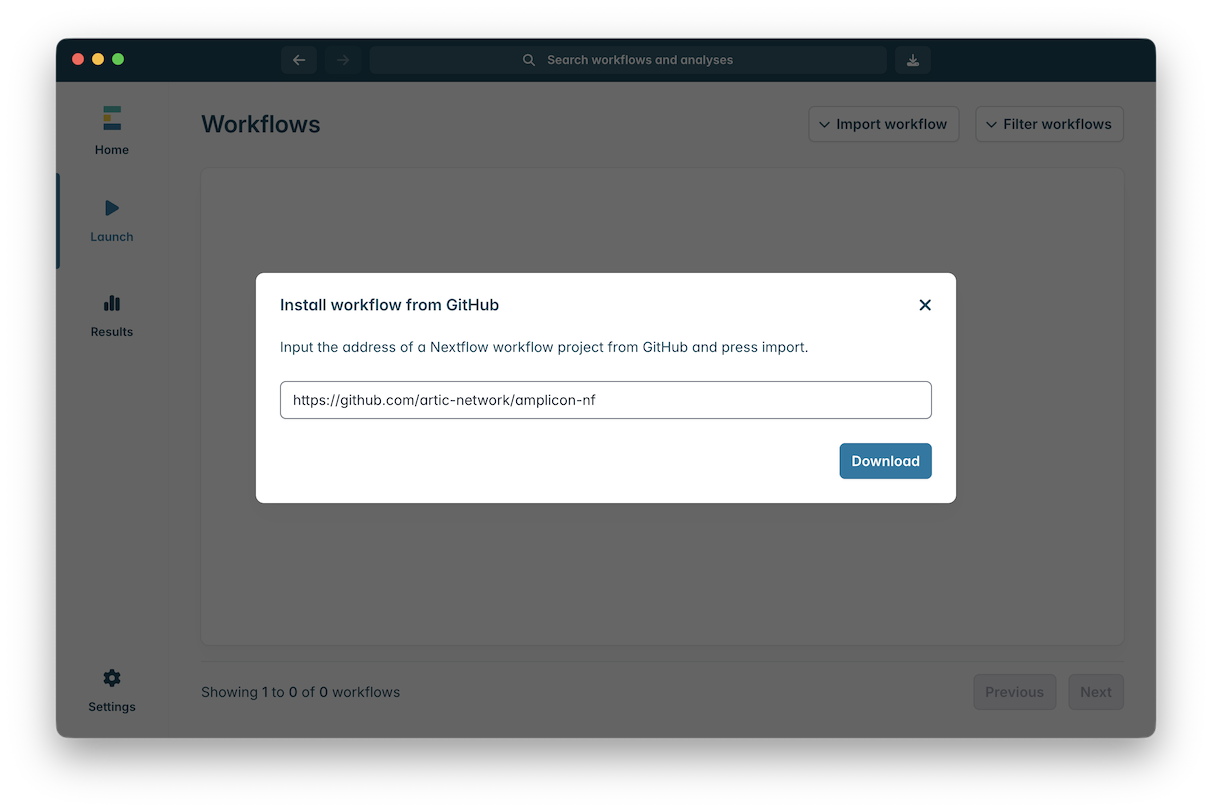
For this workshop first install amplicon-nf by pasting https://github.com/artic-network/amplicon-nf into the box and clicking “Download”:
If the workflow installed correctly, should see the following message:
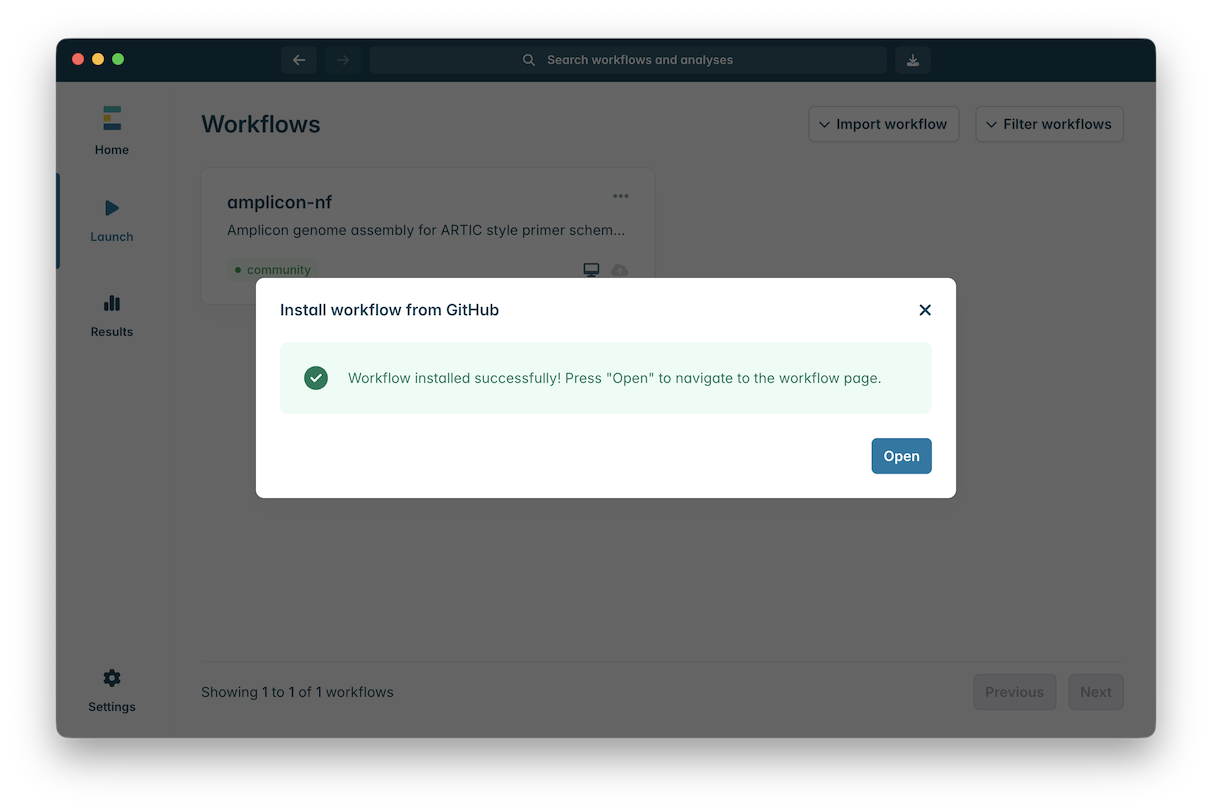
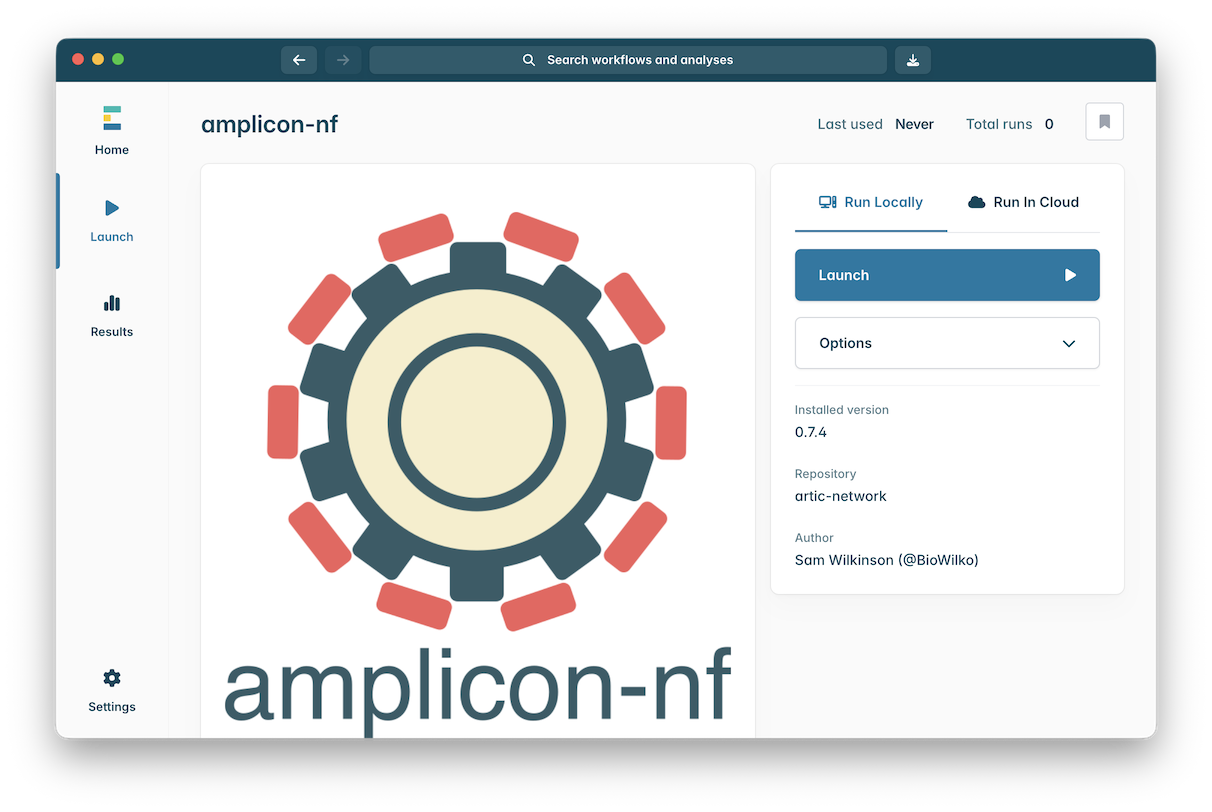
Click “Open” to open the workflow:
At this stage go back and repeat steps 3 - 6 to install another workflow, raccoon-nf. Use the following URL to install it: https://github.com/artic-network/raccoon-nf
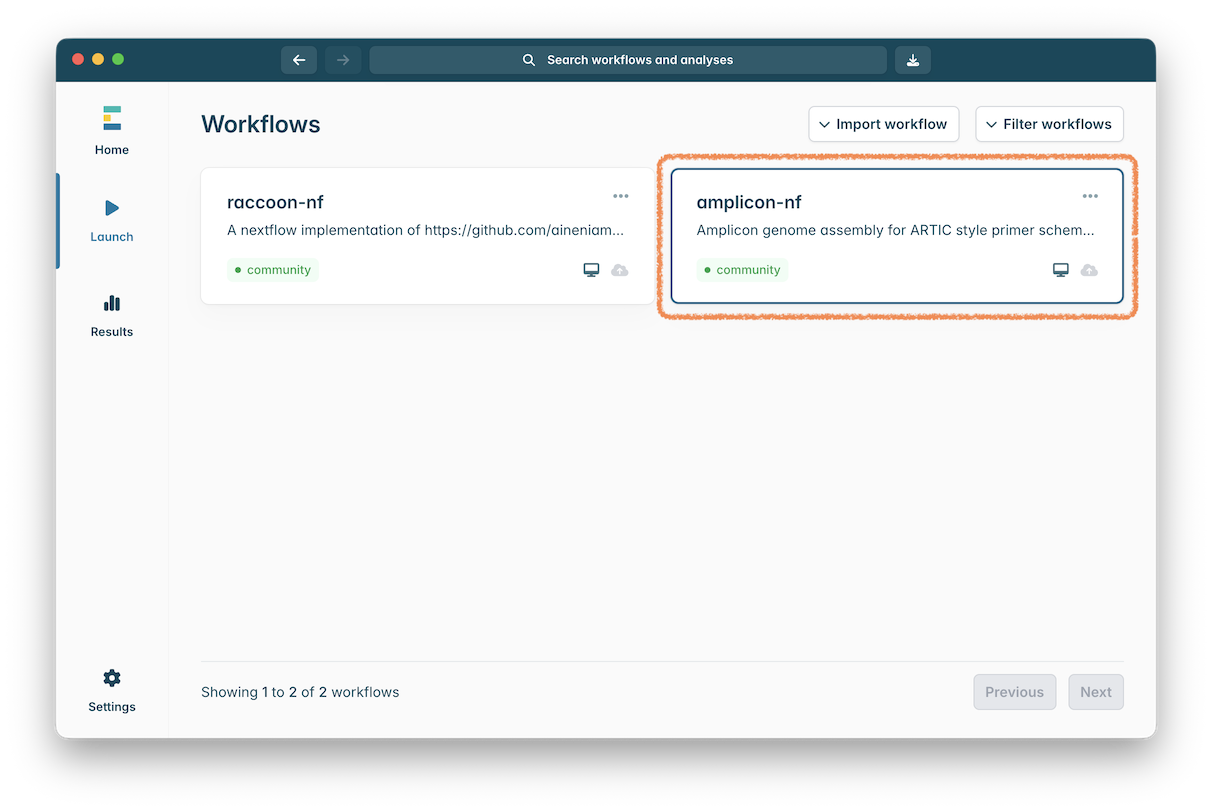
Your Workflows window should now look like this:
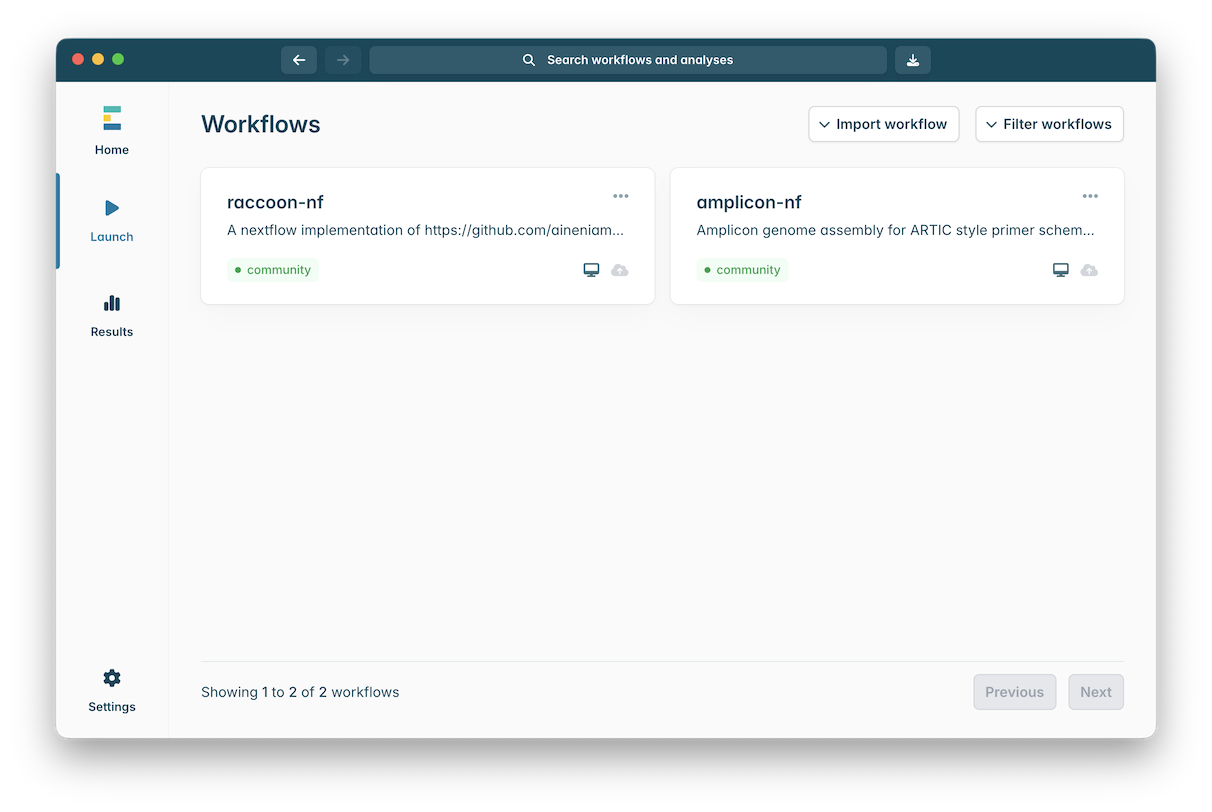
Click on a workflow to open and configure it for launching.
4. Testing the workflows
To test the amplicon-nf workflow and download all the required software follow the steps below. The initial downloads can be large but only needs to be done once so testing the workflow before you need it may useful.
Download the following (small) file to use as test data:
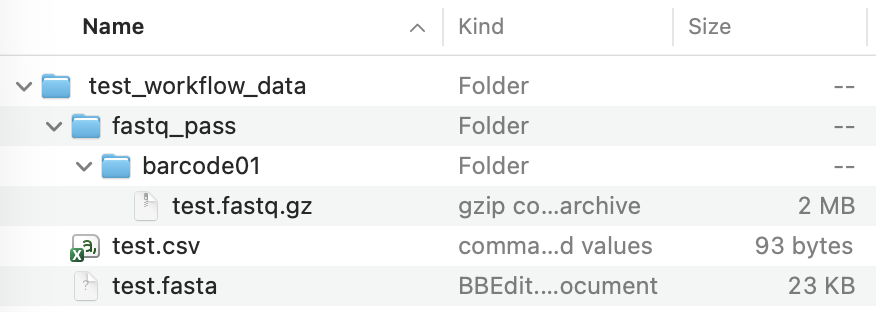
Uncompressing (expanding) this ZIP file will produce a folder with some folders and files in it:
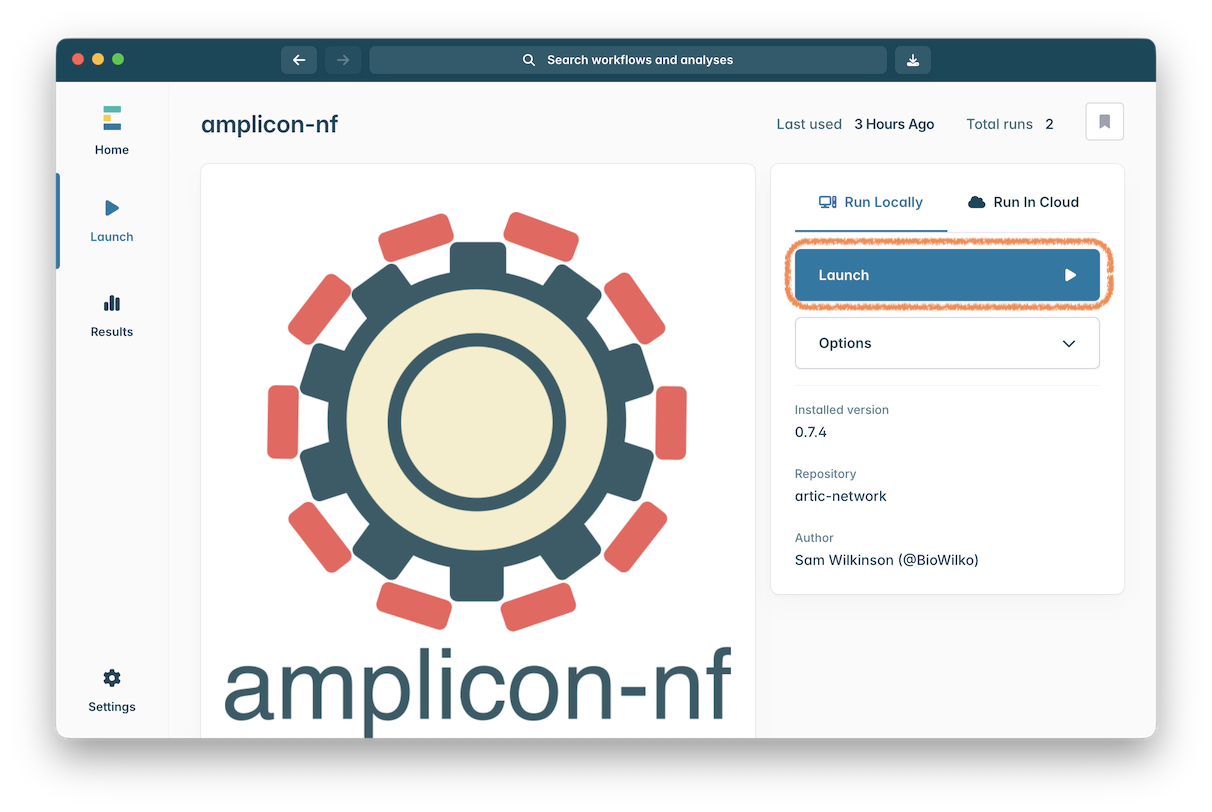
Click on the ‘amplicon-nf’ workflow to open it:
Click the ‘Launch’ button to start an instance of this workflow:
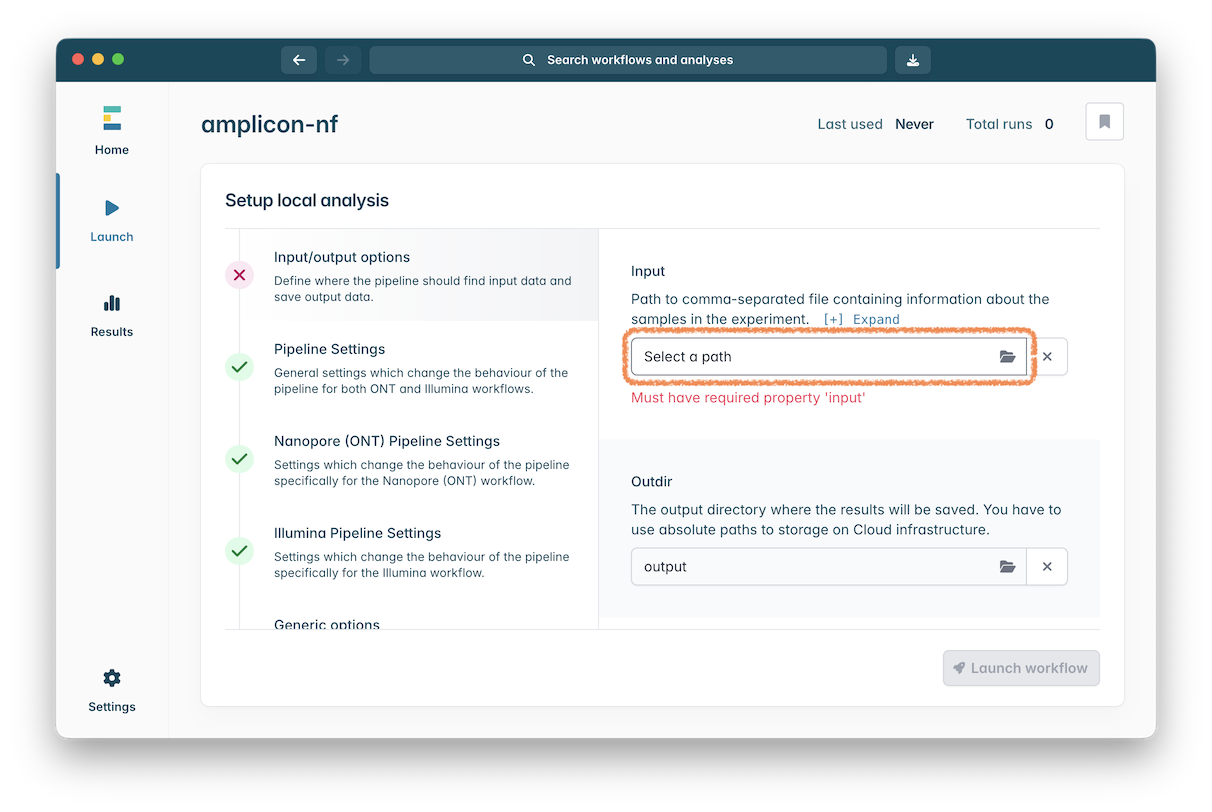
Then set a few of the input settings of the workflow. Click on “Select a path” and in the file chooser that appears select the test.csv file in the test_workflow_data folder you downloaded:
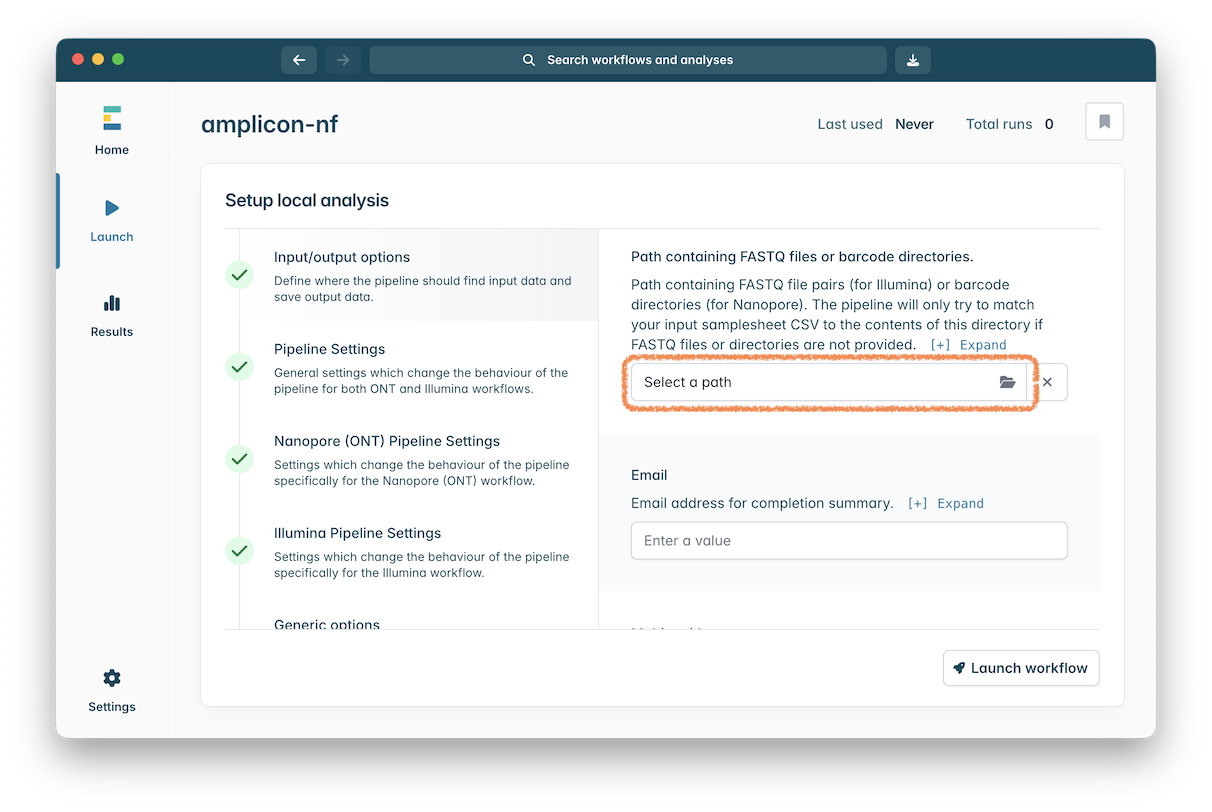
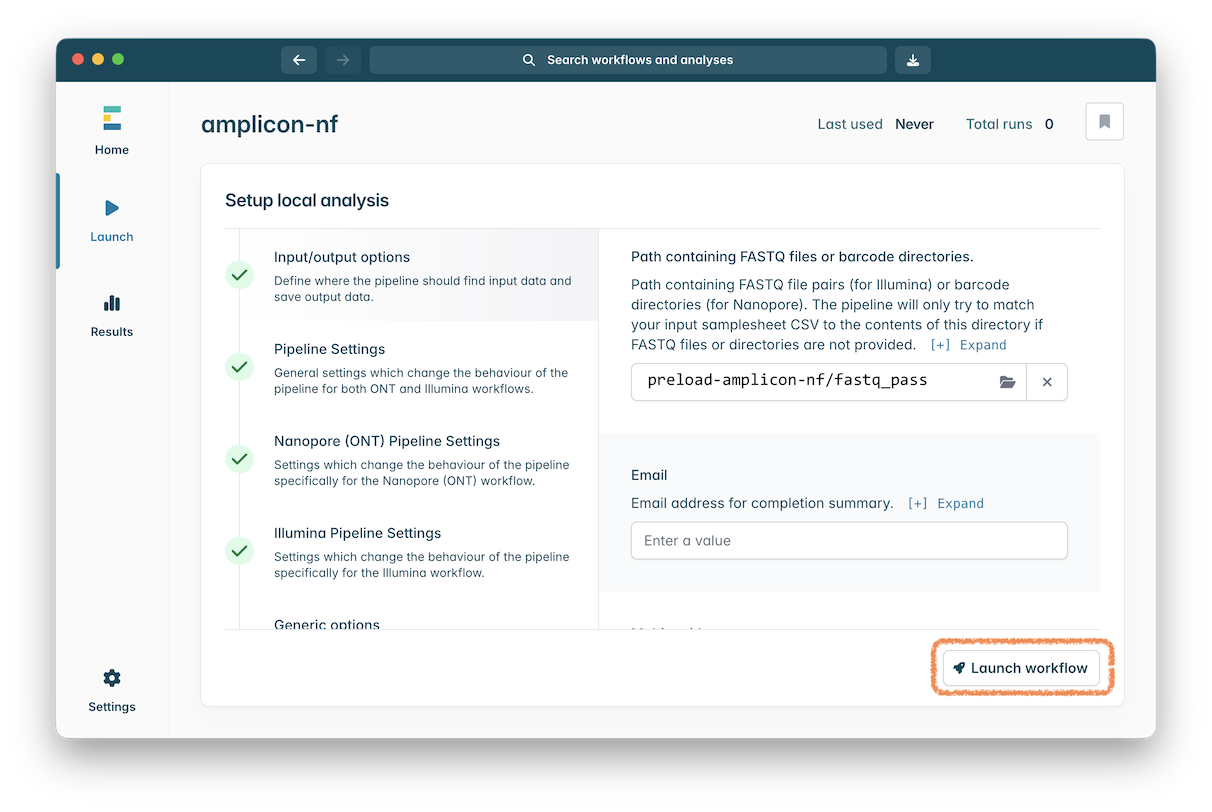
Now scroll down to the section called ‘Path containing FASTQ files or barcode directories. Click on “Select a path” and in the file chooser that appears select the fastq_pass folder in the in the preload-amplicon-nf folder you downloaded:
Finally, click the “Launch Workflow” button:
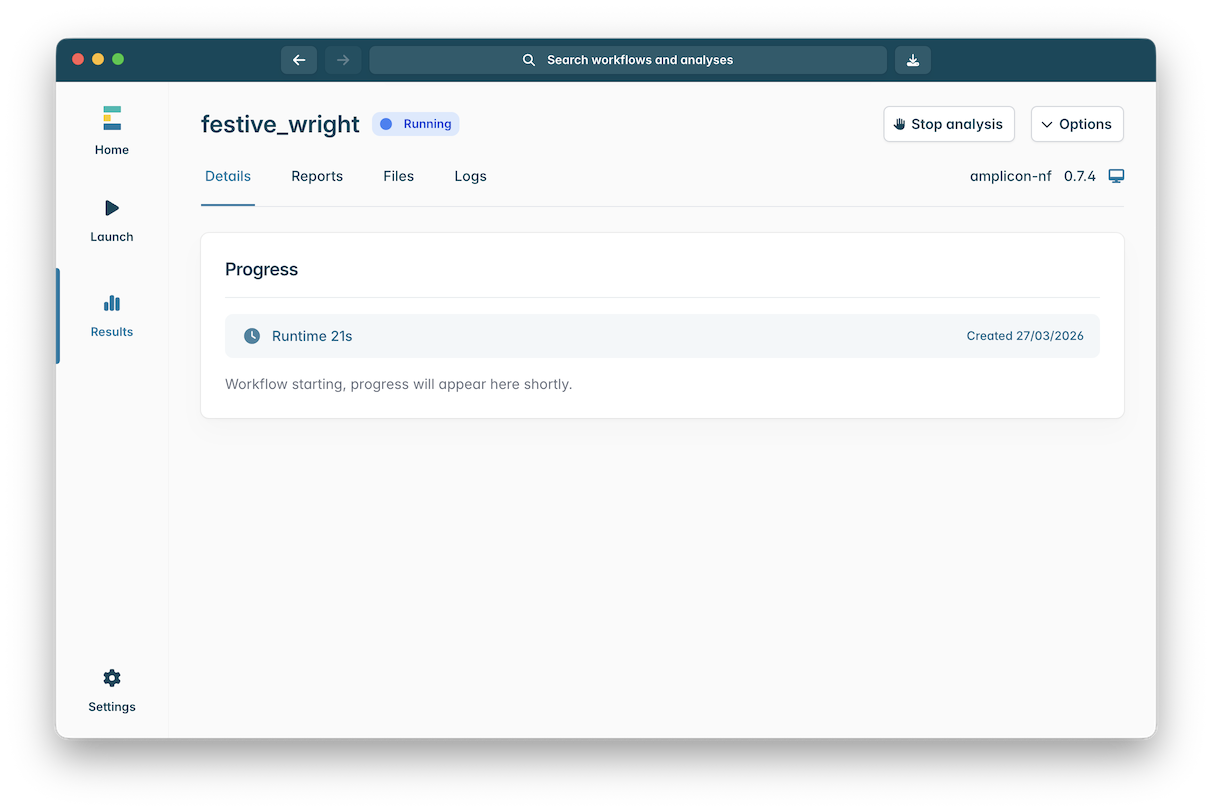
The workflow will start running:
If everything is setup then it will show that it has completed successfully:
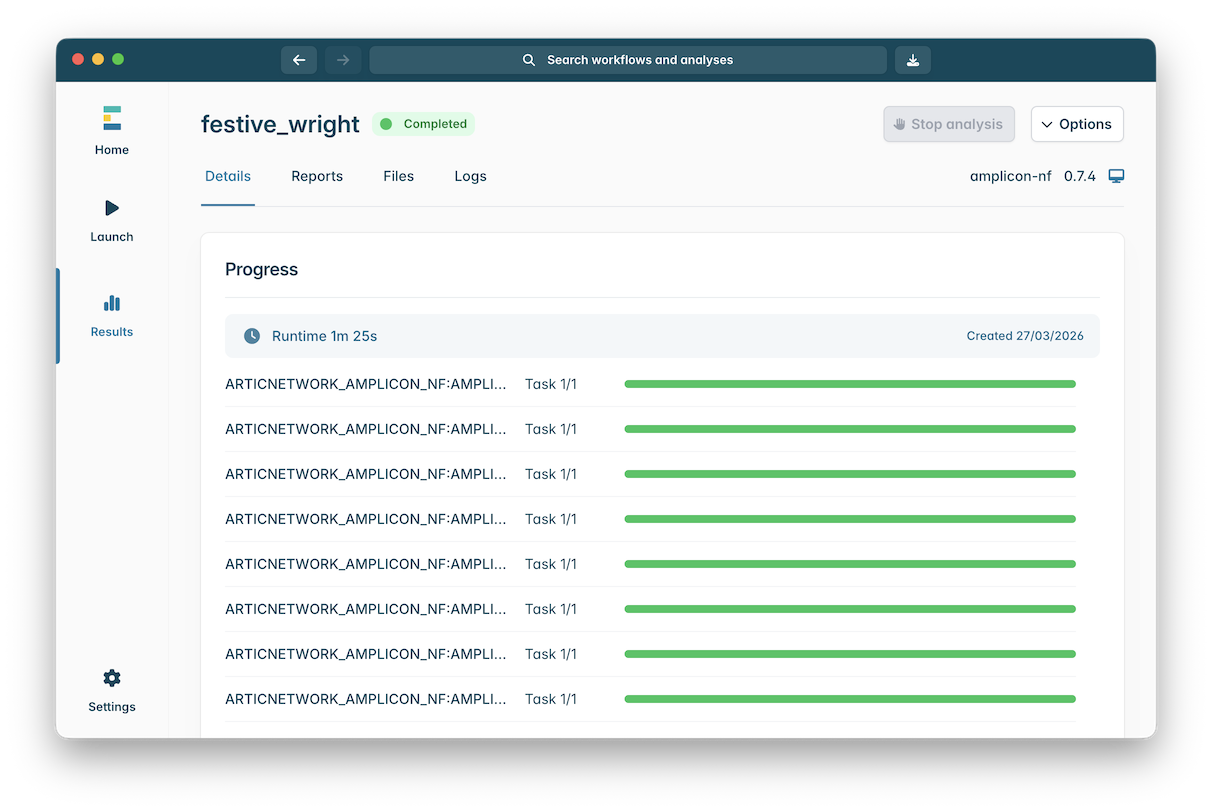
If you get to this stage then the workflow is installed and ready to run on real data.
5. Testing the raccoon-nf
Repeat the steps above to test the raccoon-nf workflow.
Click on the ‘raccoon-nf’ workflow to open it:
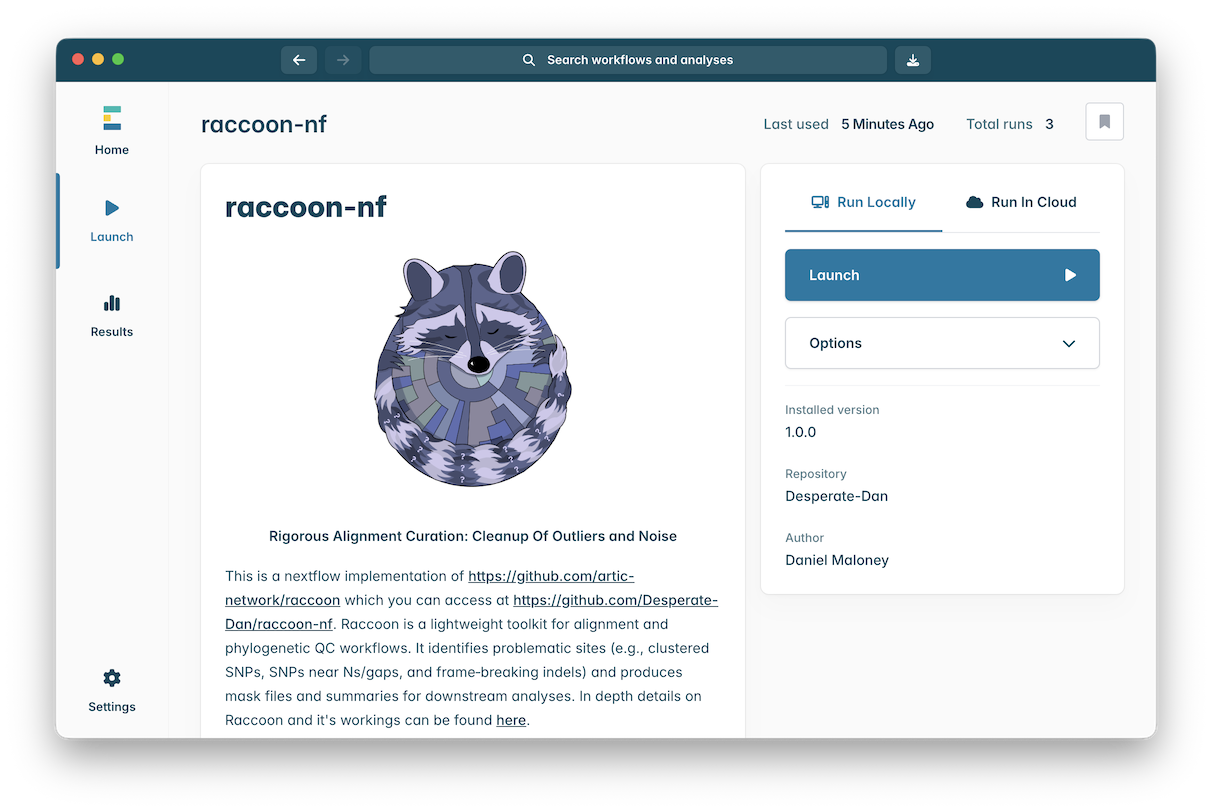
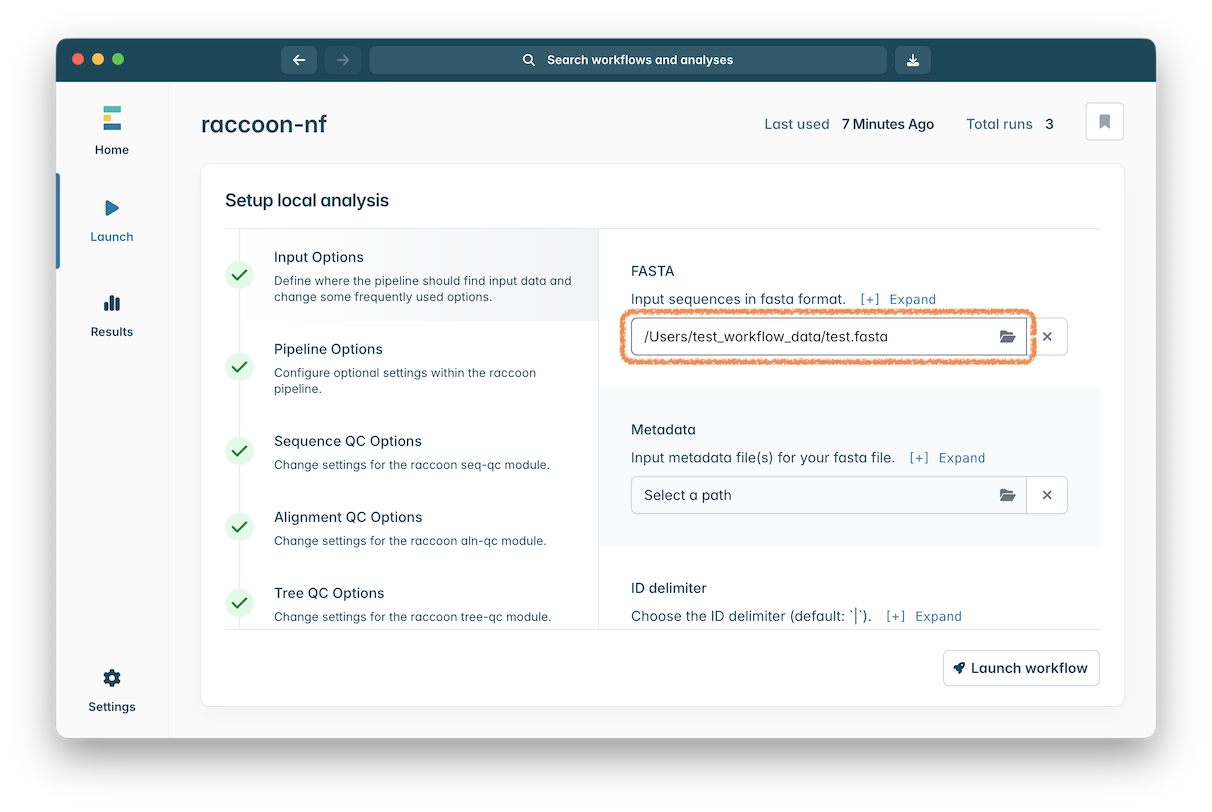
Click the ‘Launch’ button to start an instance of this workflow. Click on “Select a path” in the “Input sequences in fasta format” setting and in the file chooser that appears select the test.fasta file in the test_workflow_data folder you downloaded:
Finally click the “Launch workflow” button and wait until the workflow completes:
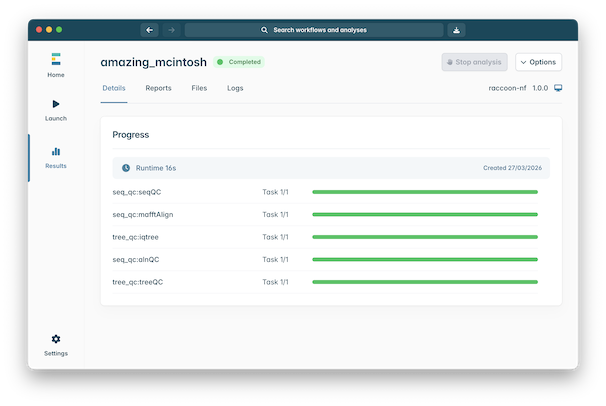
The raccoon-nf workflow is now installed and ready to run on real data.