amplicon-nf: Running the pipeline in EPI2ME
Using EPI2ME for running the ARTIC amplicon-nf pipeline without the commandline
| Document: | ARTIC-amplicon_nf-epi2me-simple-SOP-v1.0.0 |
| Creation Date: | 2025-08-21 |
| Author: | Sam Wilkinson |
| Licence: | Creative Commons Attribution 4.0 International License |
This SOP assumes that you have installed and configured the EPI2ME client, if you have not please see the epi2me desktop client setup guide for instructions to do so!
Generating your amplicon-nf input samplesheet
Before you begin you will need to create a sample-sheet in CSV (comma separated values) format that describes your sequencing run. The contents of this file will be different depending on 1) which sequencing platform you are using and 2) whether you are using a custom scheme.
1) Primer Scheme
Whichever platform was used to generate the data, you will need to tell the pipeline which primer scheme you used to generate your data. If you used an official ARTIC primer scheme (one that is available from primalscheme labs) then the pipeline will automatically find the scheme and download it for you.
a: ARTIC Primer schemes
ARTIC primer schemes should be provided with the scheme_name field in the samplesheet. The example in the guide below uses the artic-measles/400/v1.0.0 scheme, however this will change depending on the primer scheme that was used used to generate the data. If you are unsure, check the name on primalscheme labs and ensure it follows the pattern <SCHEME>/<SCHEME_LENGTH>/<VERSION>.
b: Custom primer schemes
If you are using a custom primer scheme (one that is not available on primalscheme labs) then some additional set-up steps are required. See Appendix A in this document.
2) Oxford Nanopore (ONT) specific set up
You will need to provide information to amplicon-nf about what the barcodes included in your sequencing run are (i.e., what the lab IDs of the samples are). The lab IDs will be used to label the final consensus sequences produced by the pipeline. This information is provided in a text file in CSV (comma-separated values) format. This file is referred to here as the sample-sheet and will look like this:
sample,platform,scheme_name,barcode
sample1,nanopore,artic-measles/400/v1.0.0,barcode01
sample2,nanopore,artic-measles/400/v1.0.0,barcode02
sample3,nanopore,artic-measles/400/v1.0.0,barcode03
The first column, ‘sample’, is the name of the sample - this might be the lab-ID or some other unique label for the sample. The next column is the sequencing platform - for ONT instruments this will always be nanopore. The scheme_name should be the name of the primer scheme (as described, above). This should be the same for every sample. The final column is the barcode that this sample was given when constructing the sequencing library. For nanopore data this should be barcode01, barcode02 etc. that will exactly match the folders generated by the MinKnow during sequencing.
We have an example Nanopore sample-sheet google sheet which is available here for your reference.
You may wish to copy this and use it as a basis for your own sample-sheets, to download a sample-sheet CSV which is compatible with the pipeline; press “File”, “Download”, then “Comma Separated Values (.csv)”.
Running amplicon-nf using EPI2ME Desktop
1) Starting EPI2MElabs Desktop and Installing amplicon-nf
Now you have a sample-sheet prepared for your sequencing run you have everything you need to begin processing it with amplicon-nf, first open the EPI2ME desktop client, when you do you should see a window which looks like this:
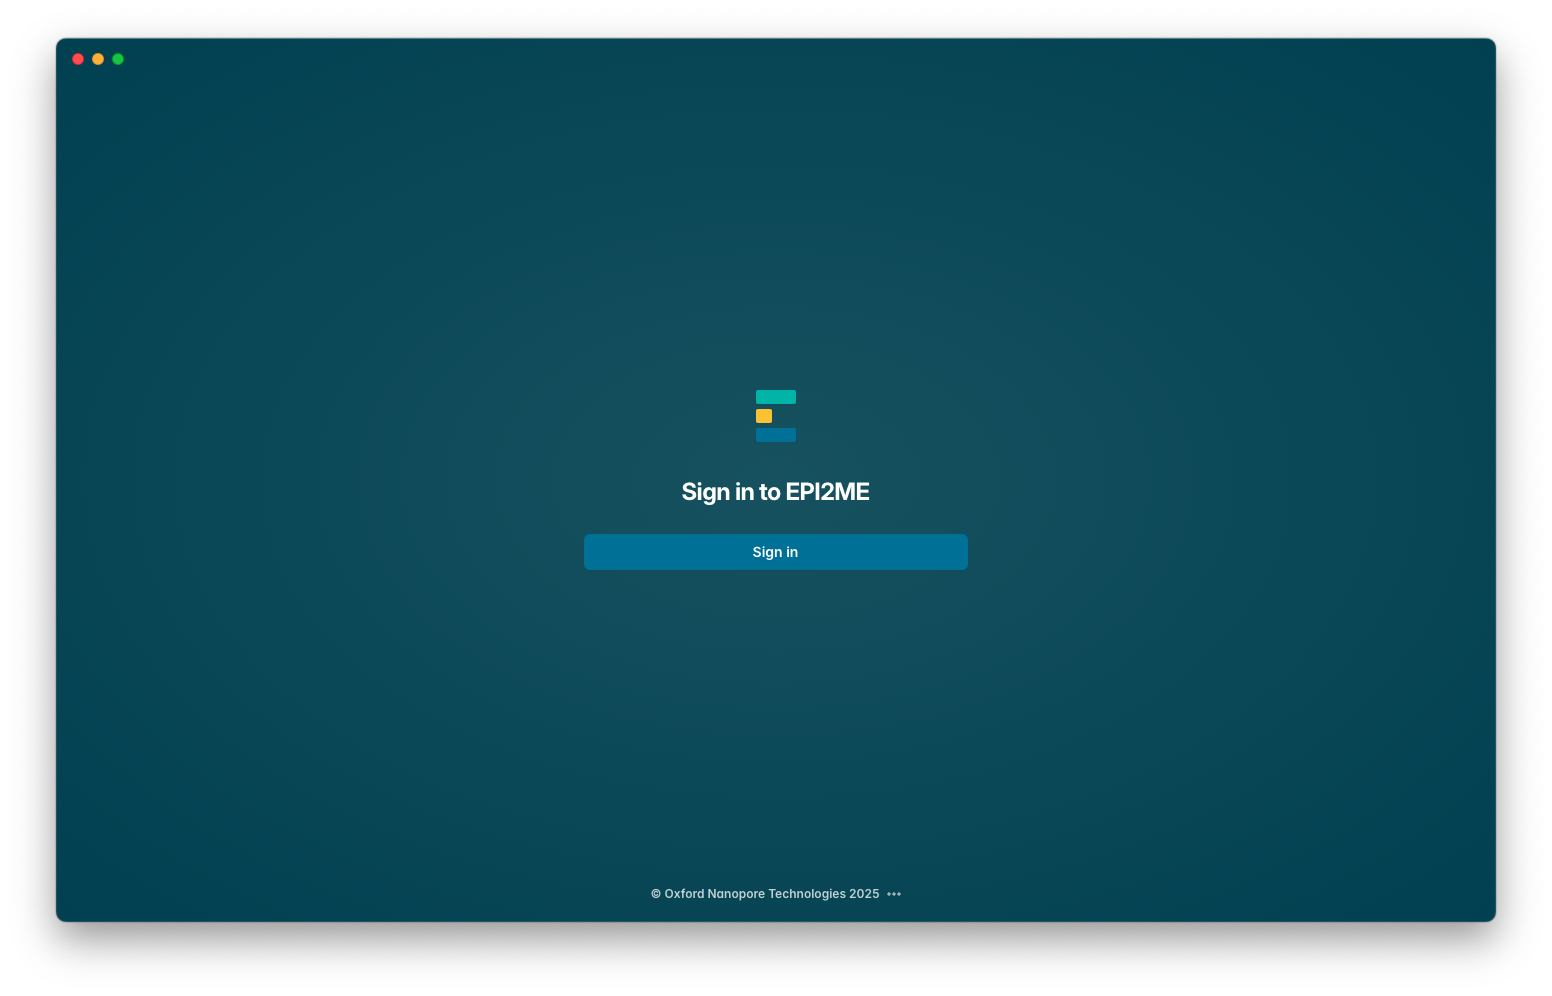
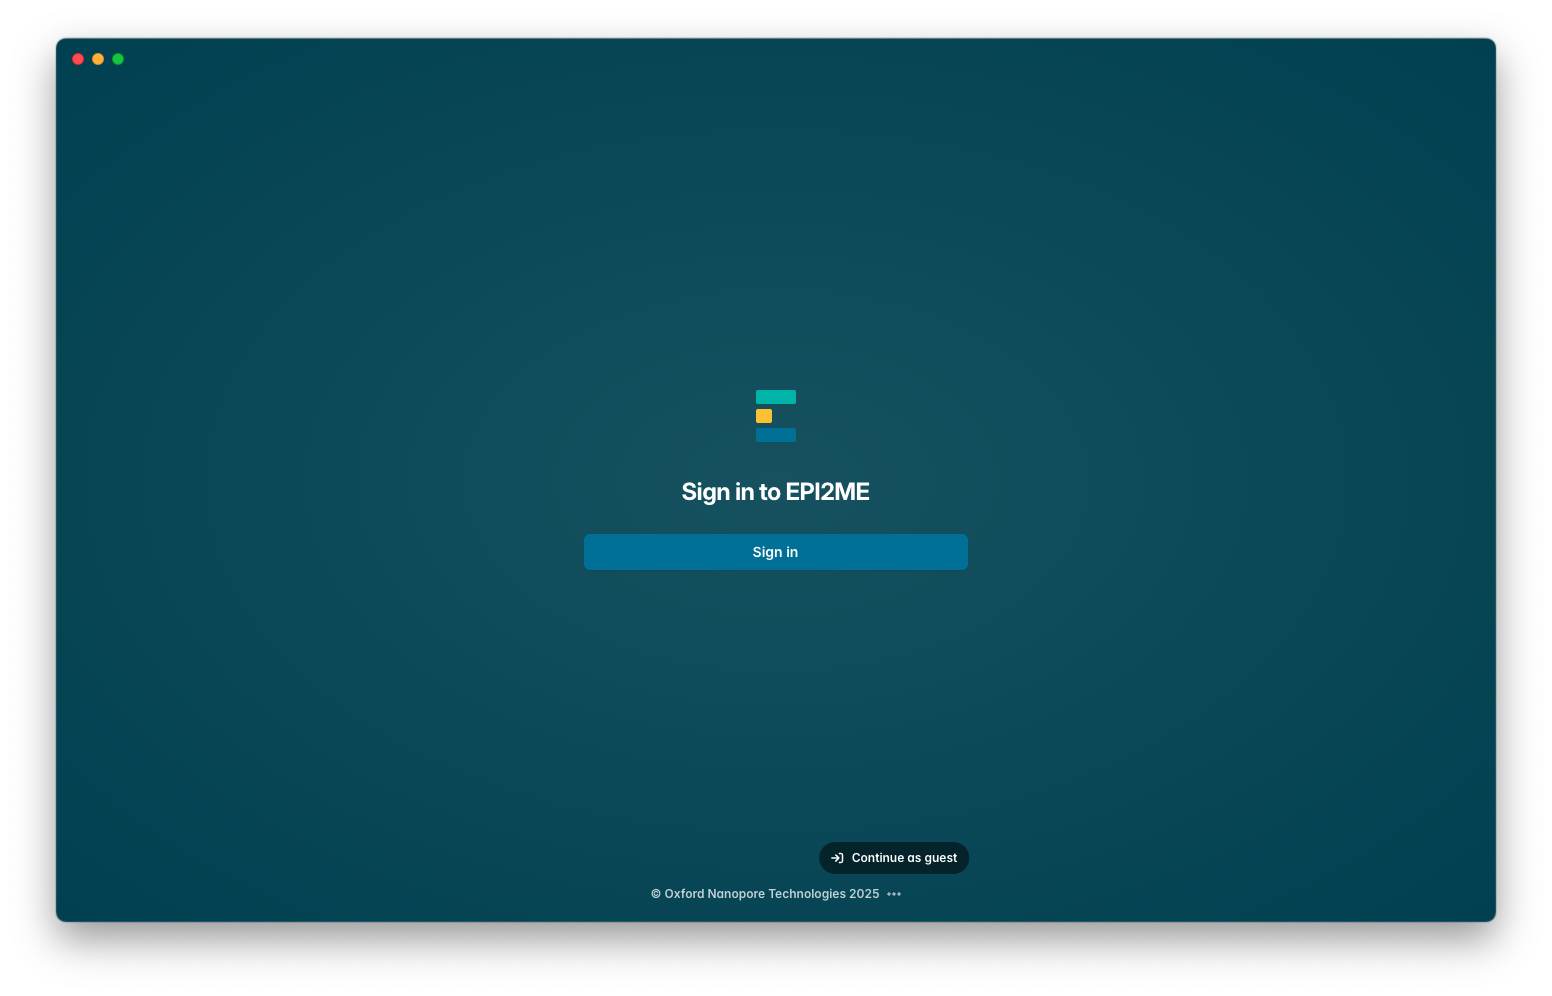
If you have a Nanopore account you may wish to sign in, however, if you do not wish to there is a hidden menu on the ... next to “Oxford Nanopore Technologies 2025” which will reveal a hidden “Continue as guest” button, we apologise for how hidden this functionality is, we have no affiliation with epi2me so cannot control their interface.
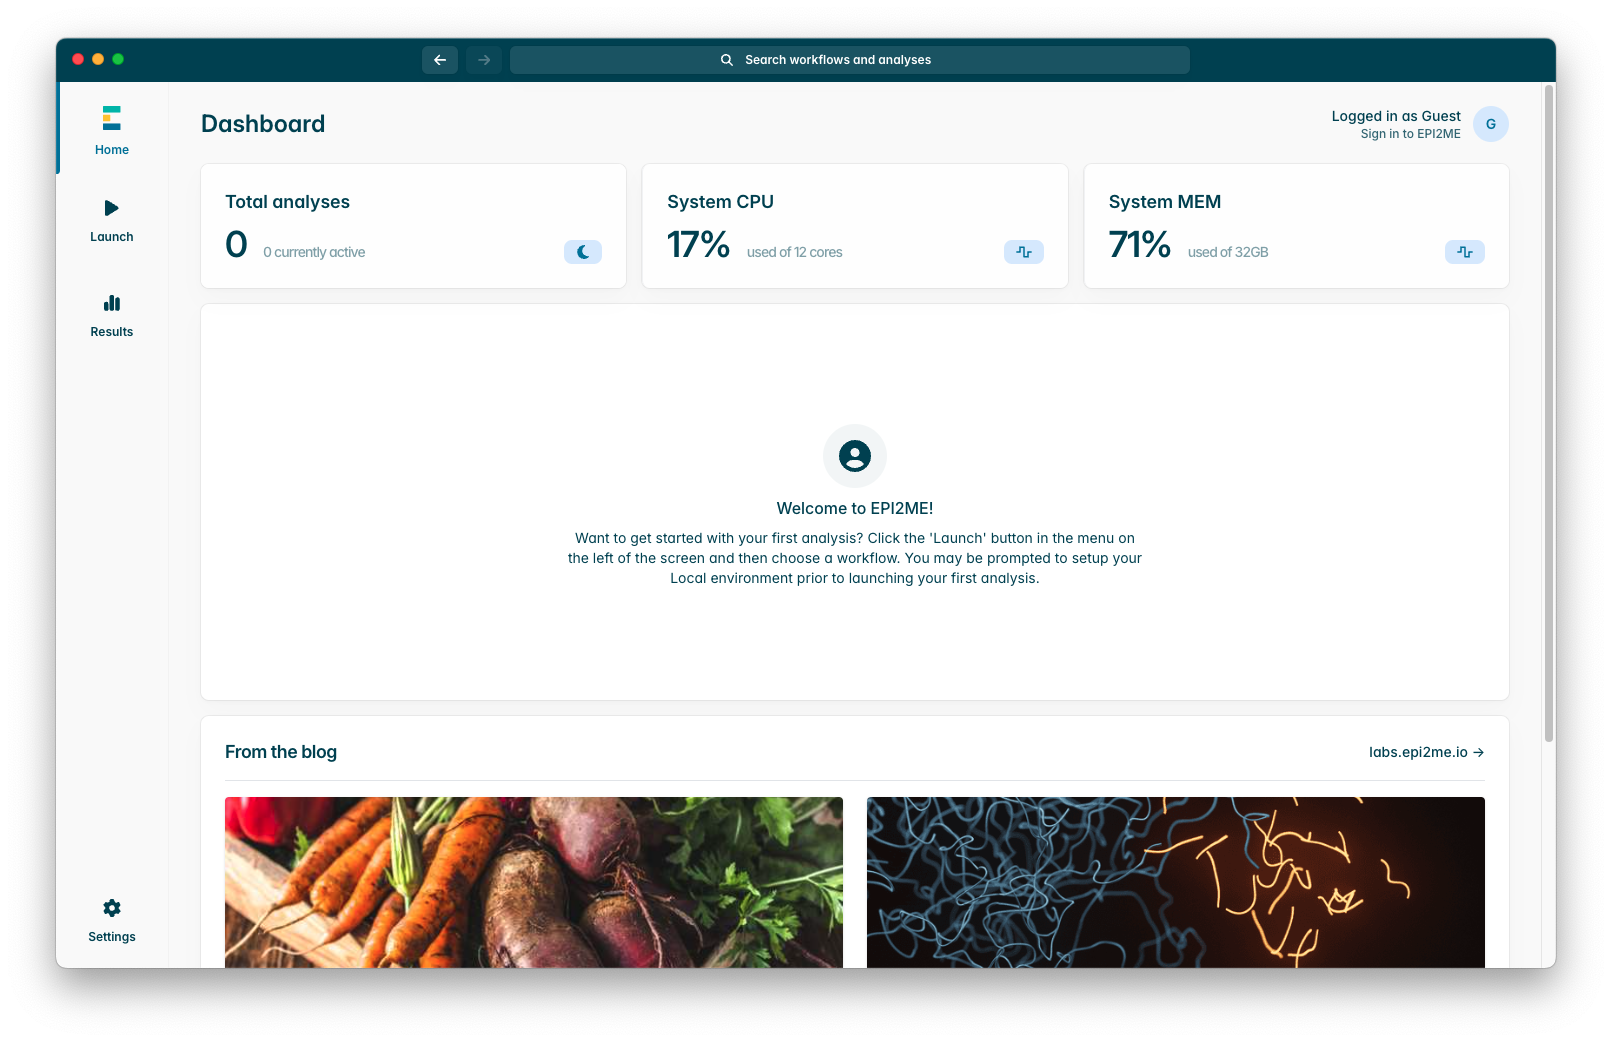
Once you have logged in or signed in as a guest you will see a page which looks like the screenshot below, on the left side of the window, press the “Launch” button which will take you to the workflows tab.
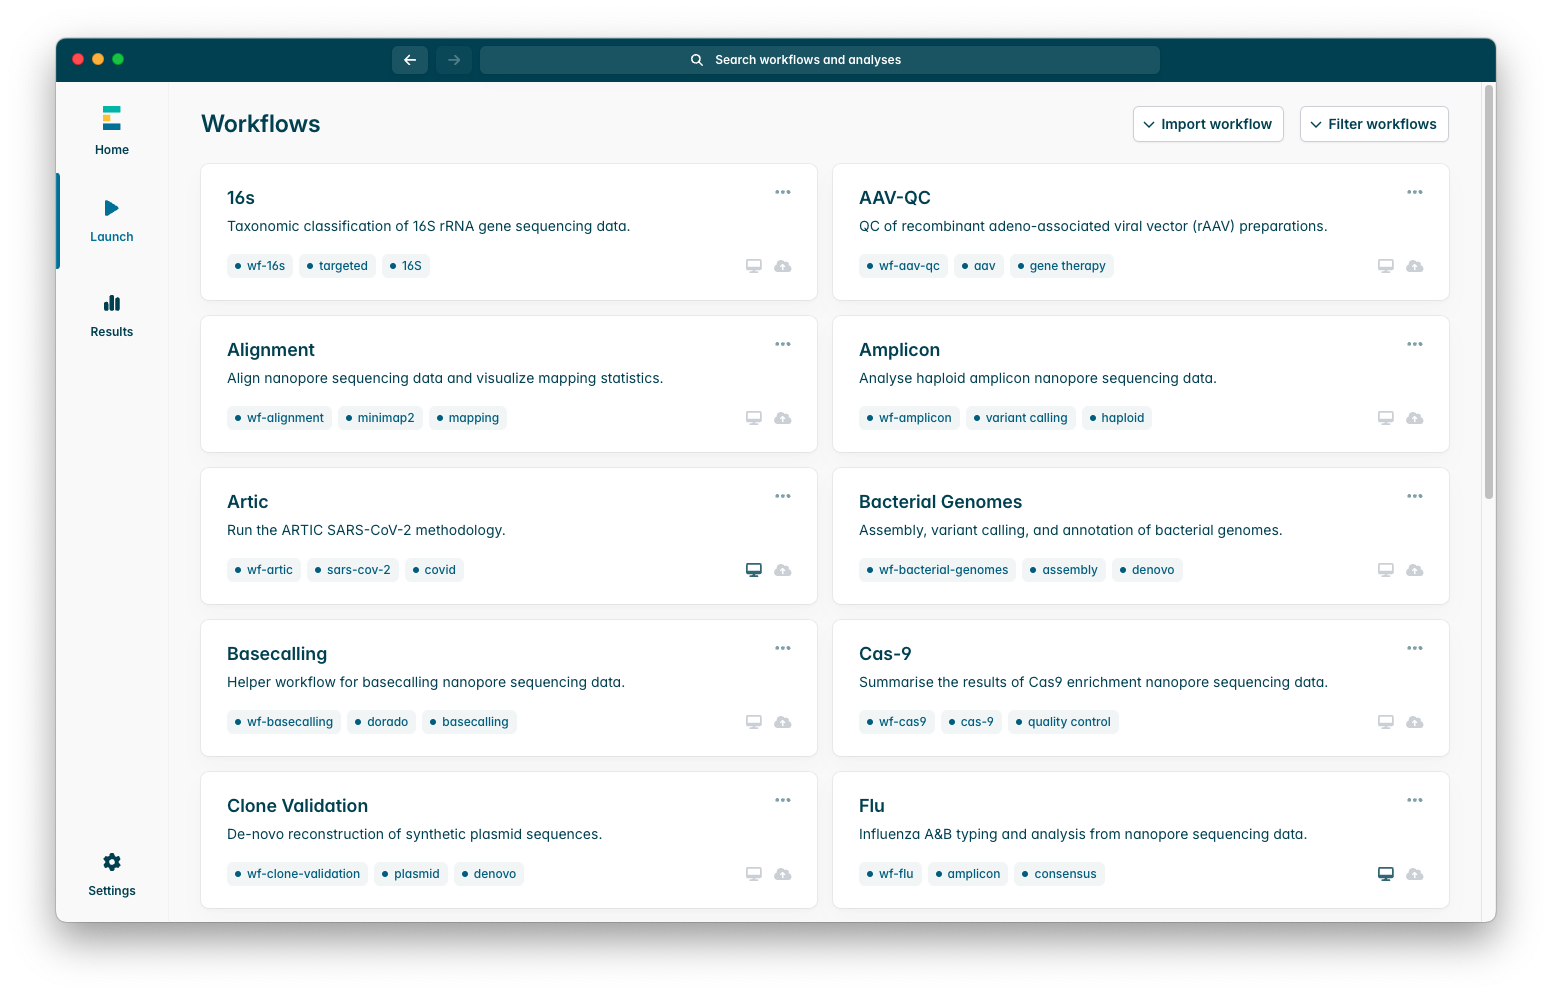
The workflows tab looks like the screenshot below; the pipelines available by default are those developed by in-house EPI2ME developers, amplicon-nf is not installed by default, so we will have to import it, to do so press the “Import Workflow” button at the top right of the workflows tab.
You will see two options, “Import from Github” or “Import a 2ME file”, we will be importing the workflow from Github so select that option, you will see a text box which looks like this:
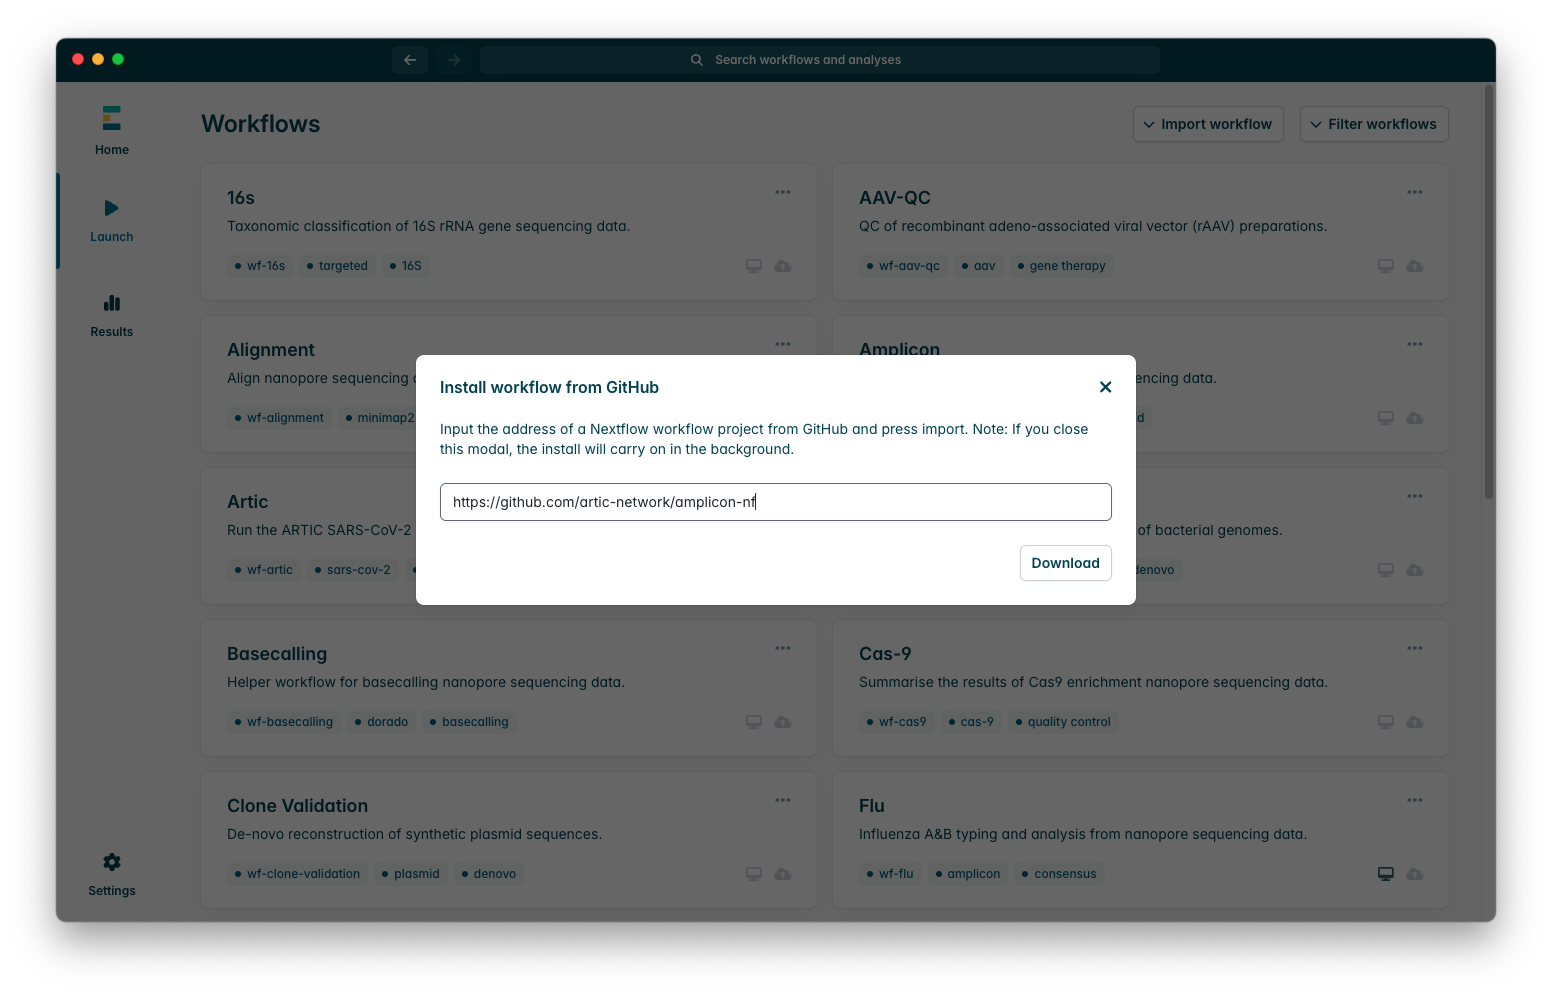
When you do, you will need to enter the amplicon-nf github repository URL, “https://github.com/artic-network/amplicon-nf”, please ensure that you enter the URL exactly as provided here, any differences will mean that the workflow cannot be imported, even leaving a / at the end of the URL can prevent workflows from being imported. Once you have entered the URL as in the screenshot, press “Download”, this download may sometimes fail due to connection errors, if it fails the first time please try again, if this fails consistently please contact EPI2ME for assistance with their client.
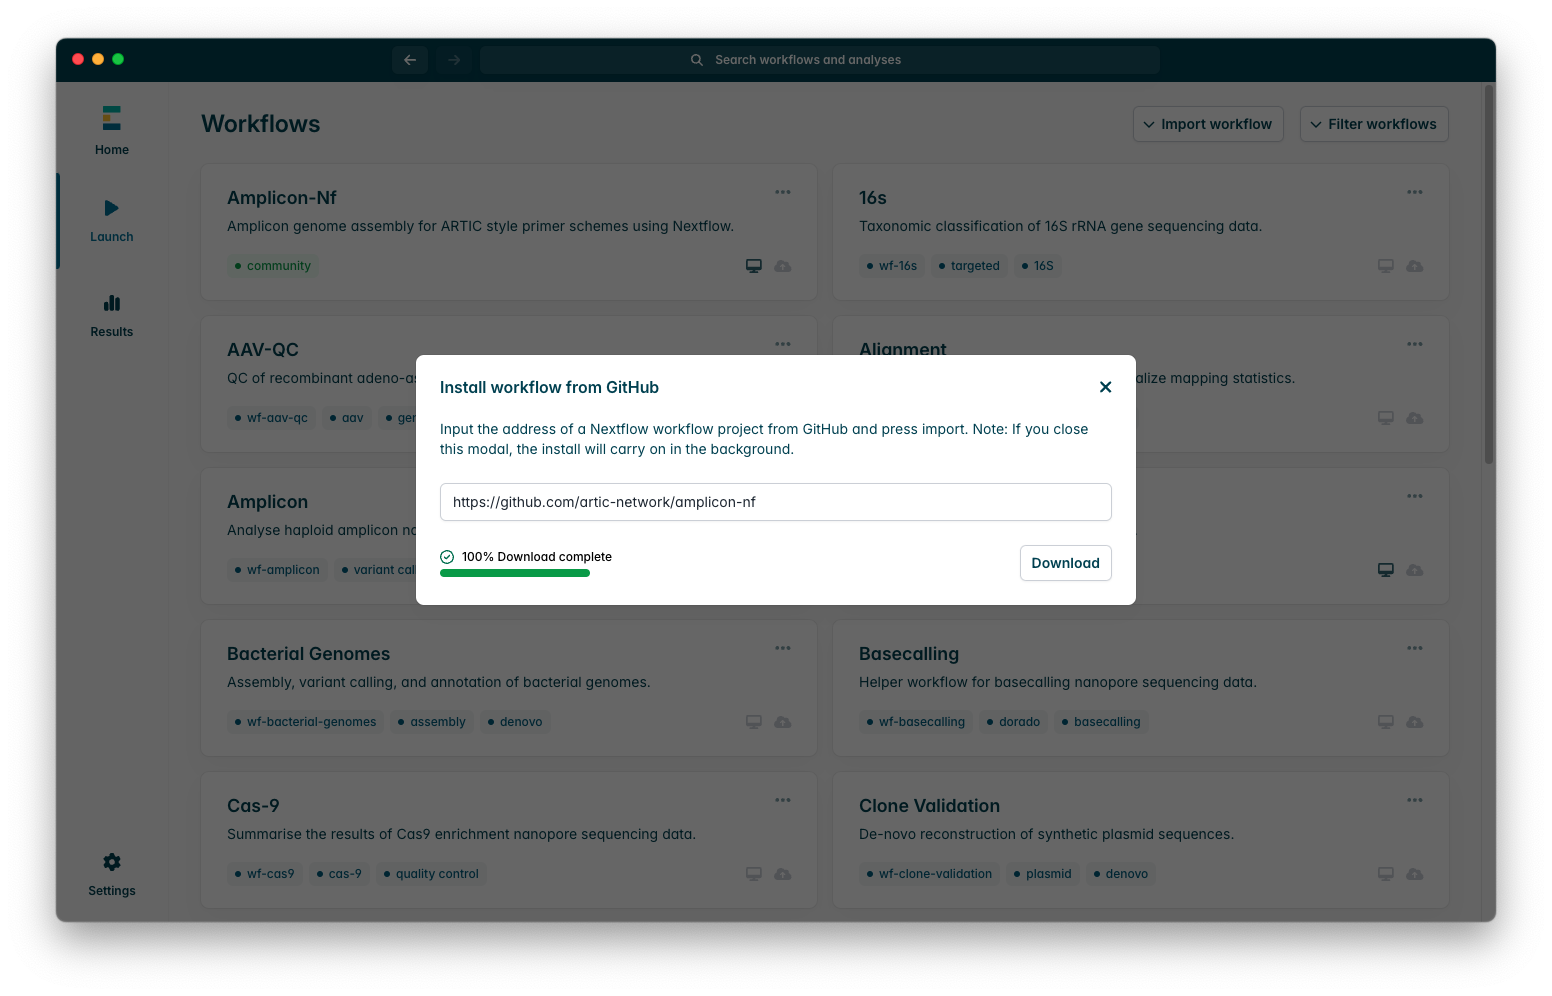
Once the workflow has downloaded successfully, you should see a success message as in this screenshot:
2) Running amplicon-nf
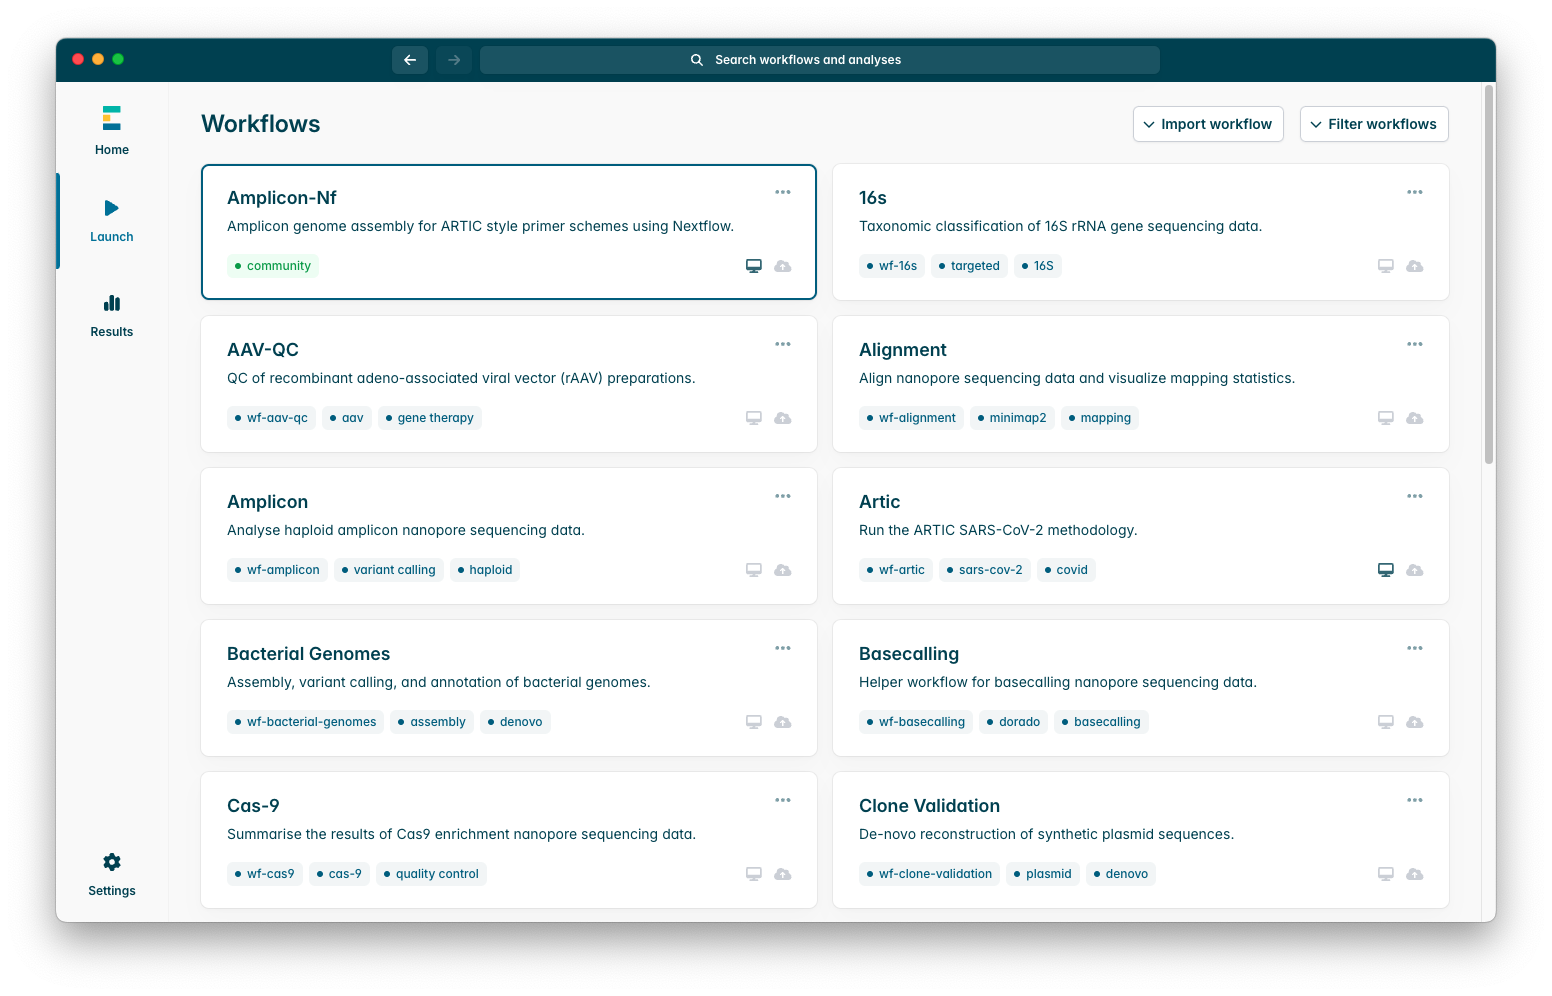
Now you have successfully installed the workflow, you should see it in your workflows tab near the top, as in this screenshot:
To begin configuring the pipeline, press it, you will see an options menu which looks like this:
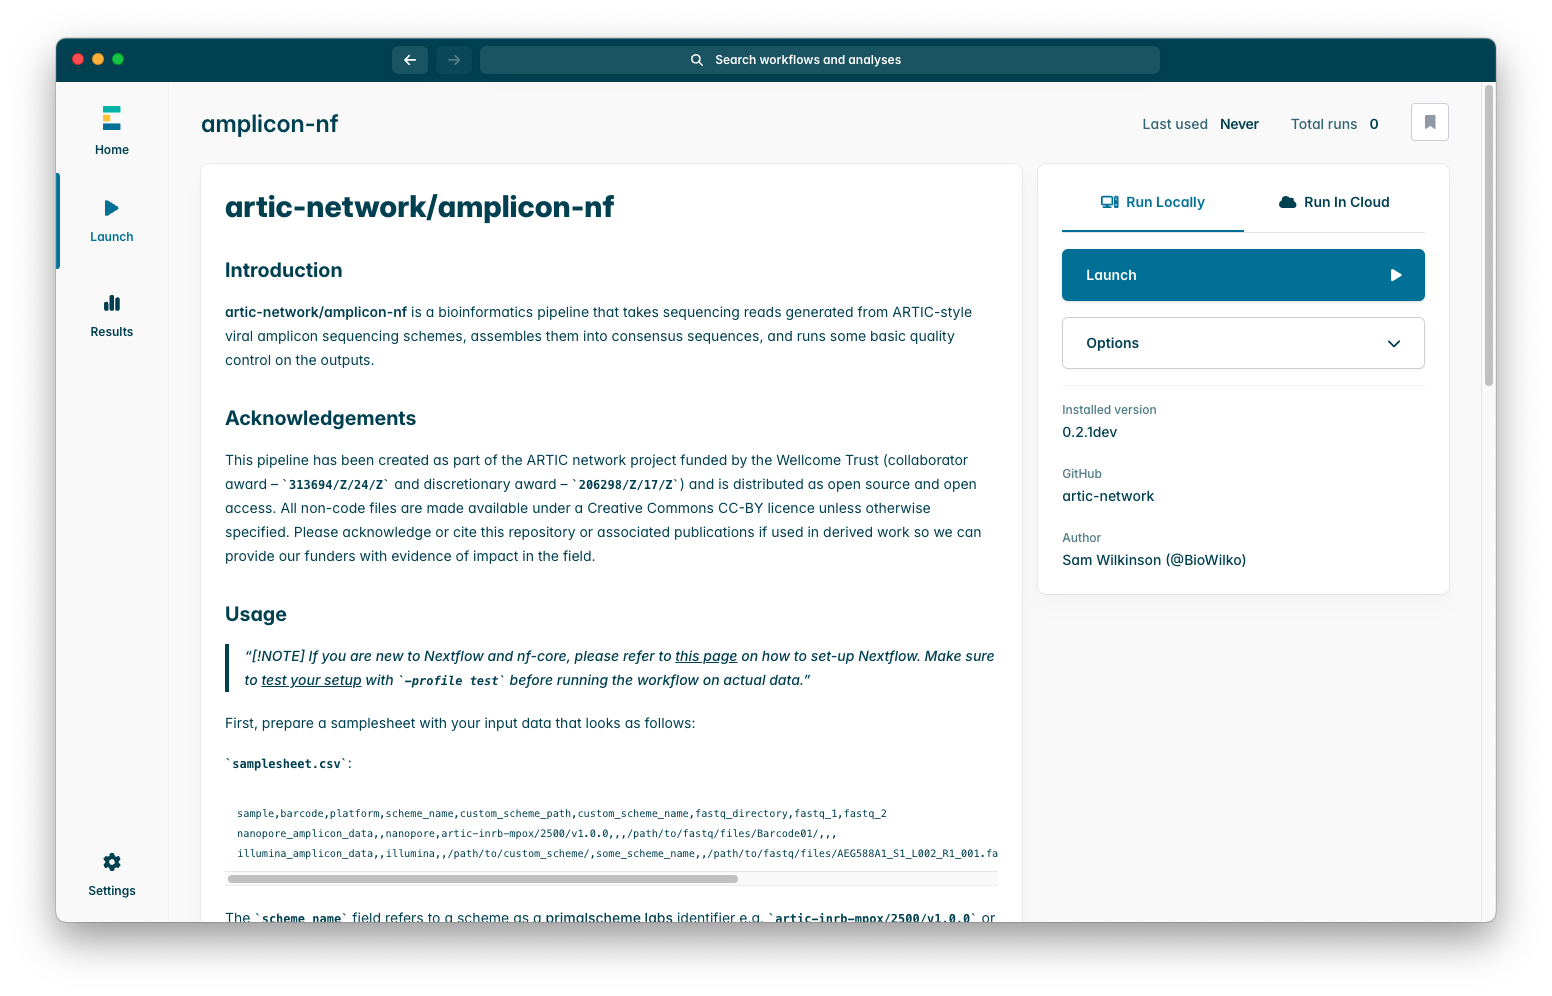
If you had downloaded the pipeline previously it is often a good idea to check for updates, you can do so by pressing “Options”, then “Check for updates”, if you have only just downloaded the pipeline then you can go immediately to the next step which is to press “Launch”, you will see a screen like this:
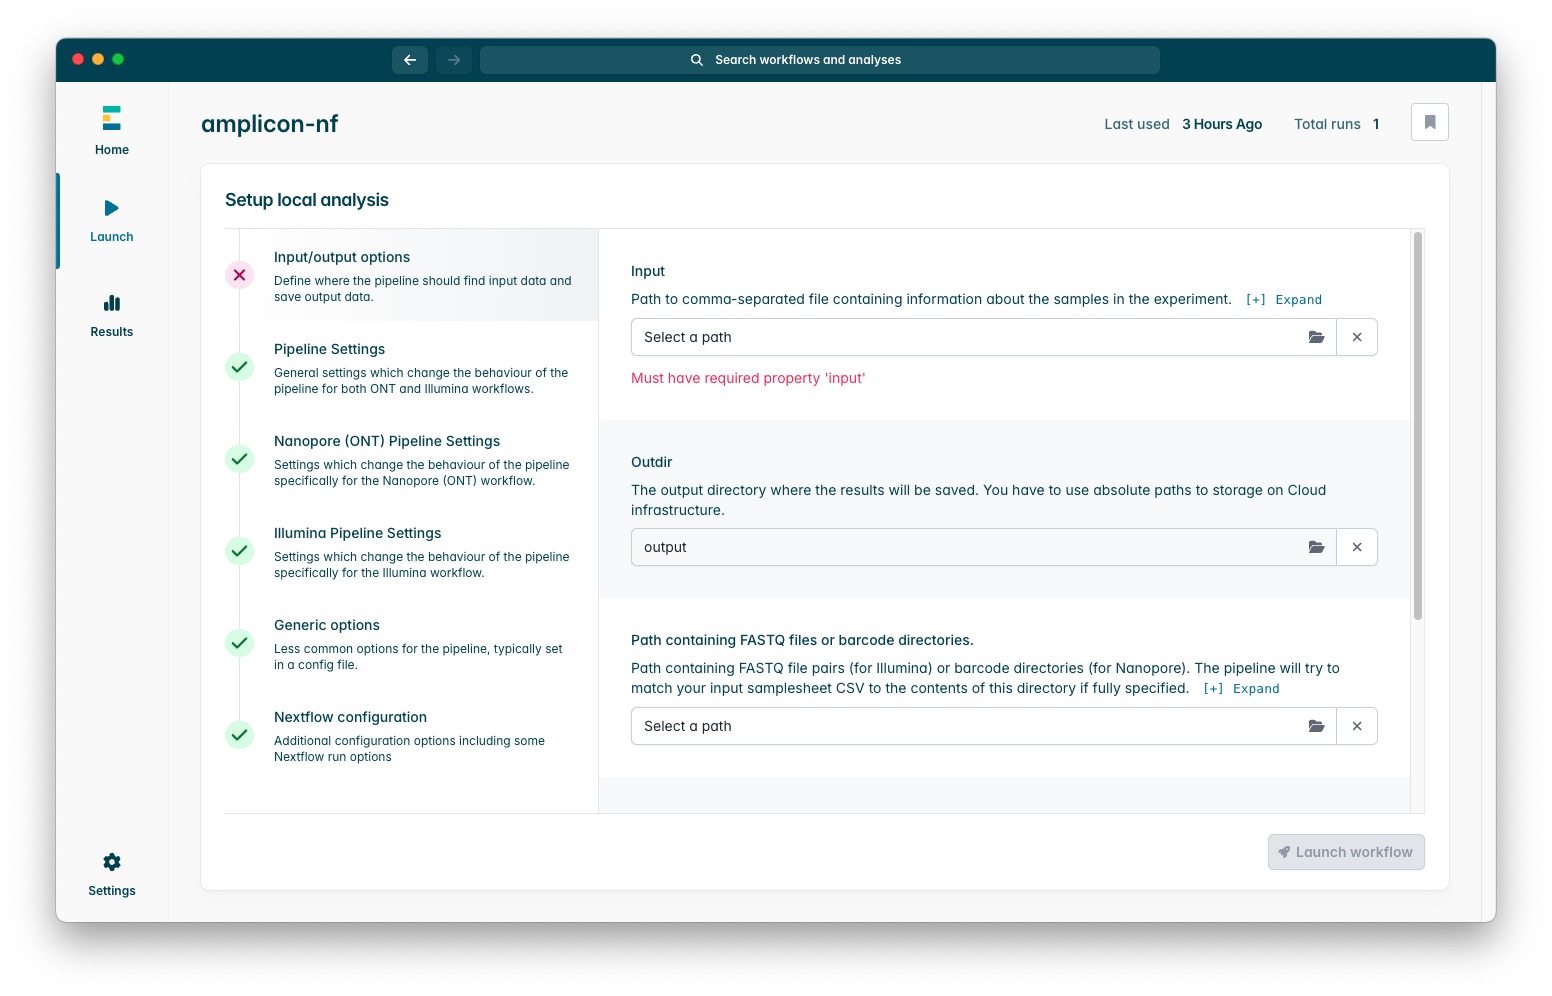
The only strictly required parameter is “Input” which is the run sample-sheet we created earlier, if you press on the box which says “Select a path” a window will appear where you can select your sample-sheet CSV file using your operating systems file browser.
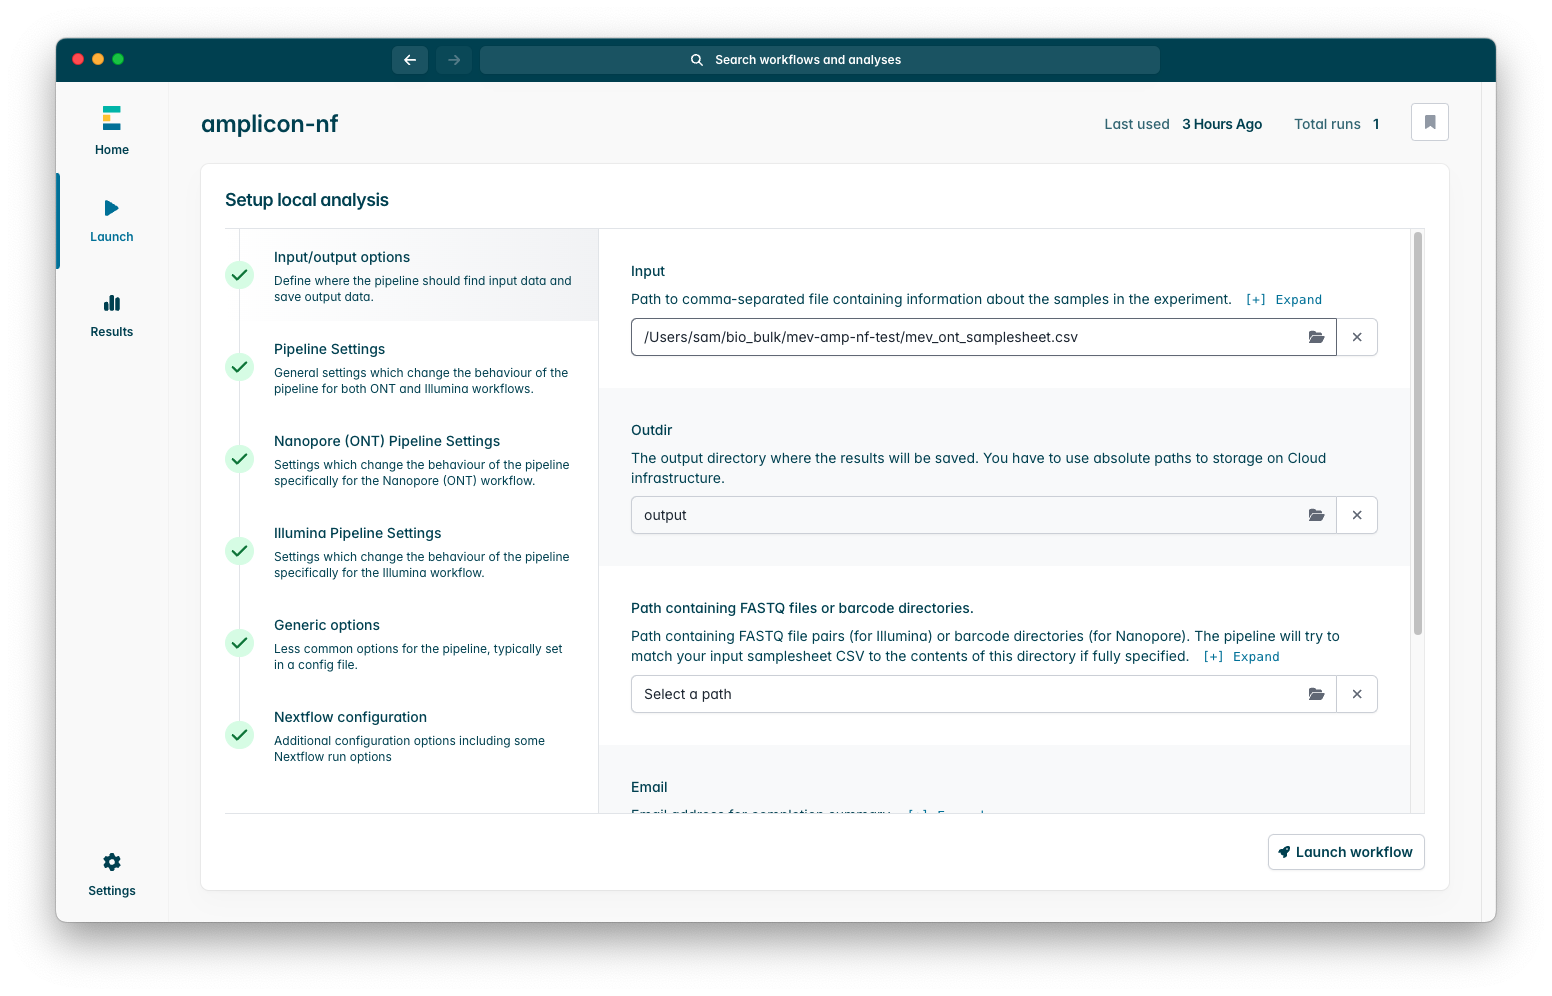
Once you have done so you should see your sample-sheet filled into the box, the pipeline will launch now but I will briefly summarise some parameters you may wish to modify:
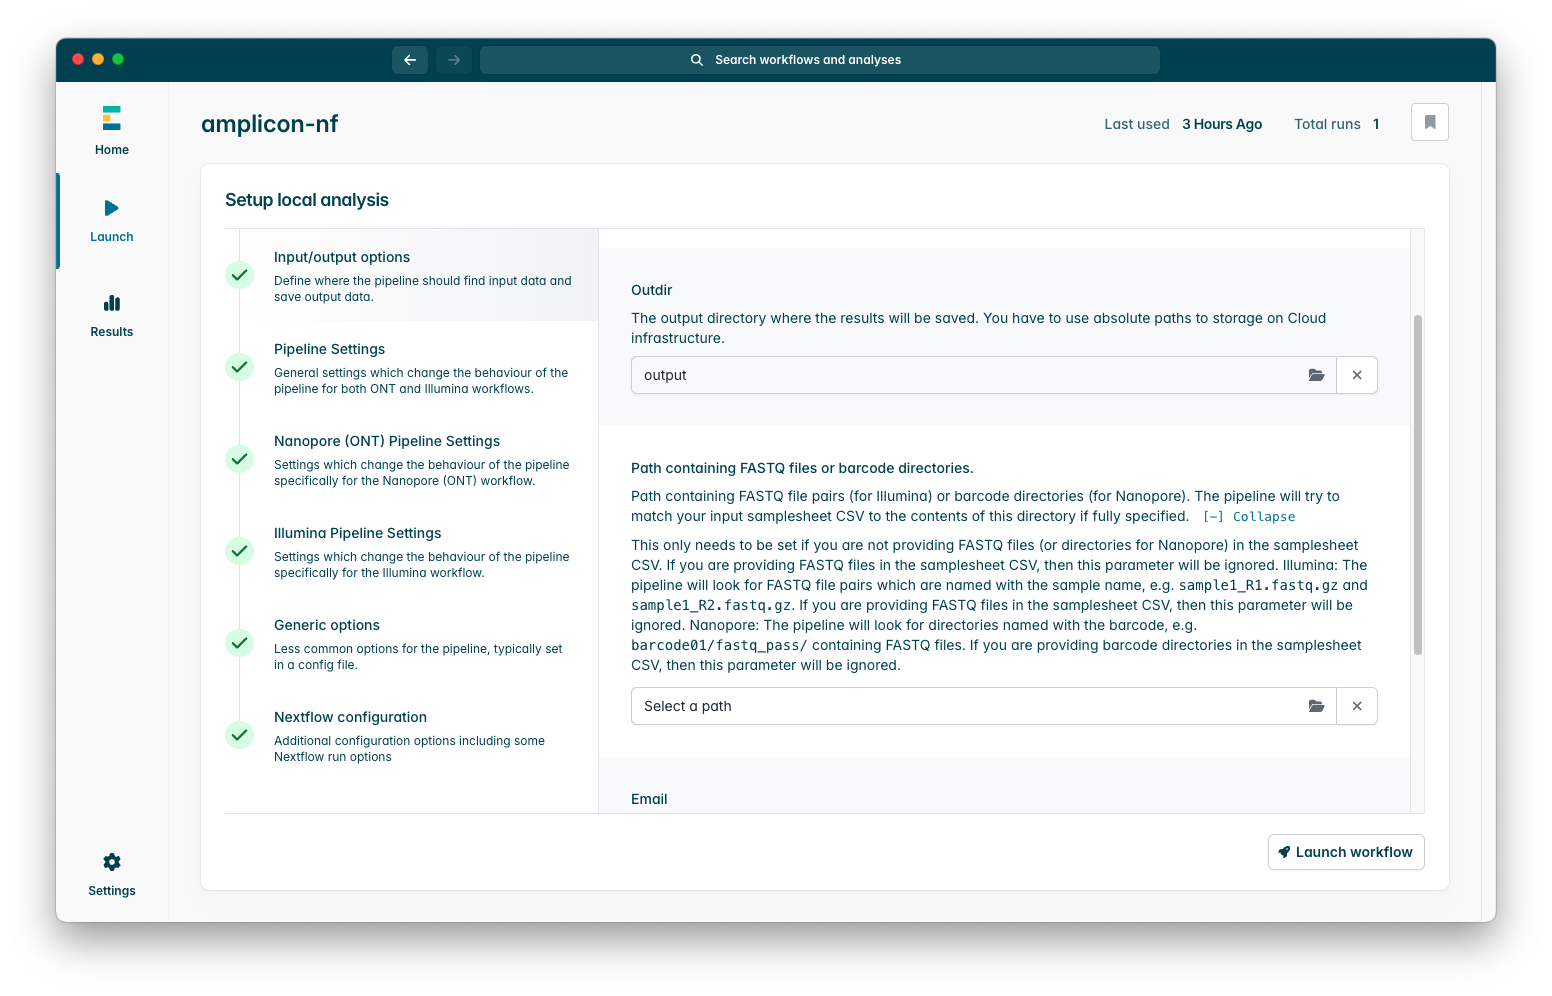
Input / Output Options
Outdir-> This controls where the pipeline will place output files, if you leave this as the default value it will place this within the epi2melabs folder, we will discuss accessing outputs later.Path containing FASTQ files or directories-> This is required and should be the folder that contains the sequencing reads generated by MinKNOW during sequencing. This will be the folder calledfastq-passwithin the sequencing run folder. This folder will contain a folder for each barcode used in the sequencing — these should match the barcode names used in the sample-sheet file, above.
Pipeline Settings
Normalise Depth-> This controls to what depth the pipeline will try to normalise your data to before running variant calling, if you set this to 0 the pipeline will not run normalisation at all which will increase your runtime significantly due to the increased complexity of variant calling.
This interface has summary descriptions of what each parameter does as well as detailed help text which you can see if you press the Expand option under the summary, we strongly recommend you familiarise yourself with these so you may modify them to suit your specific use-case.
Once you have configured the pipeline as you wish, press the “Launch” button to start the workflow!
3) Workflow Monitoring
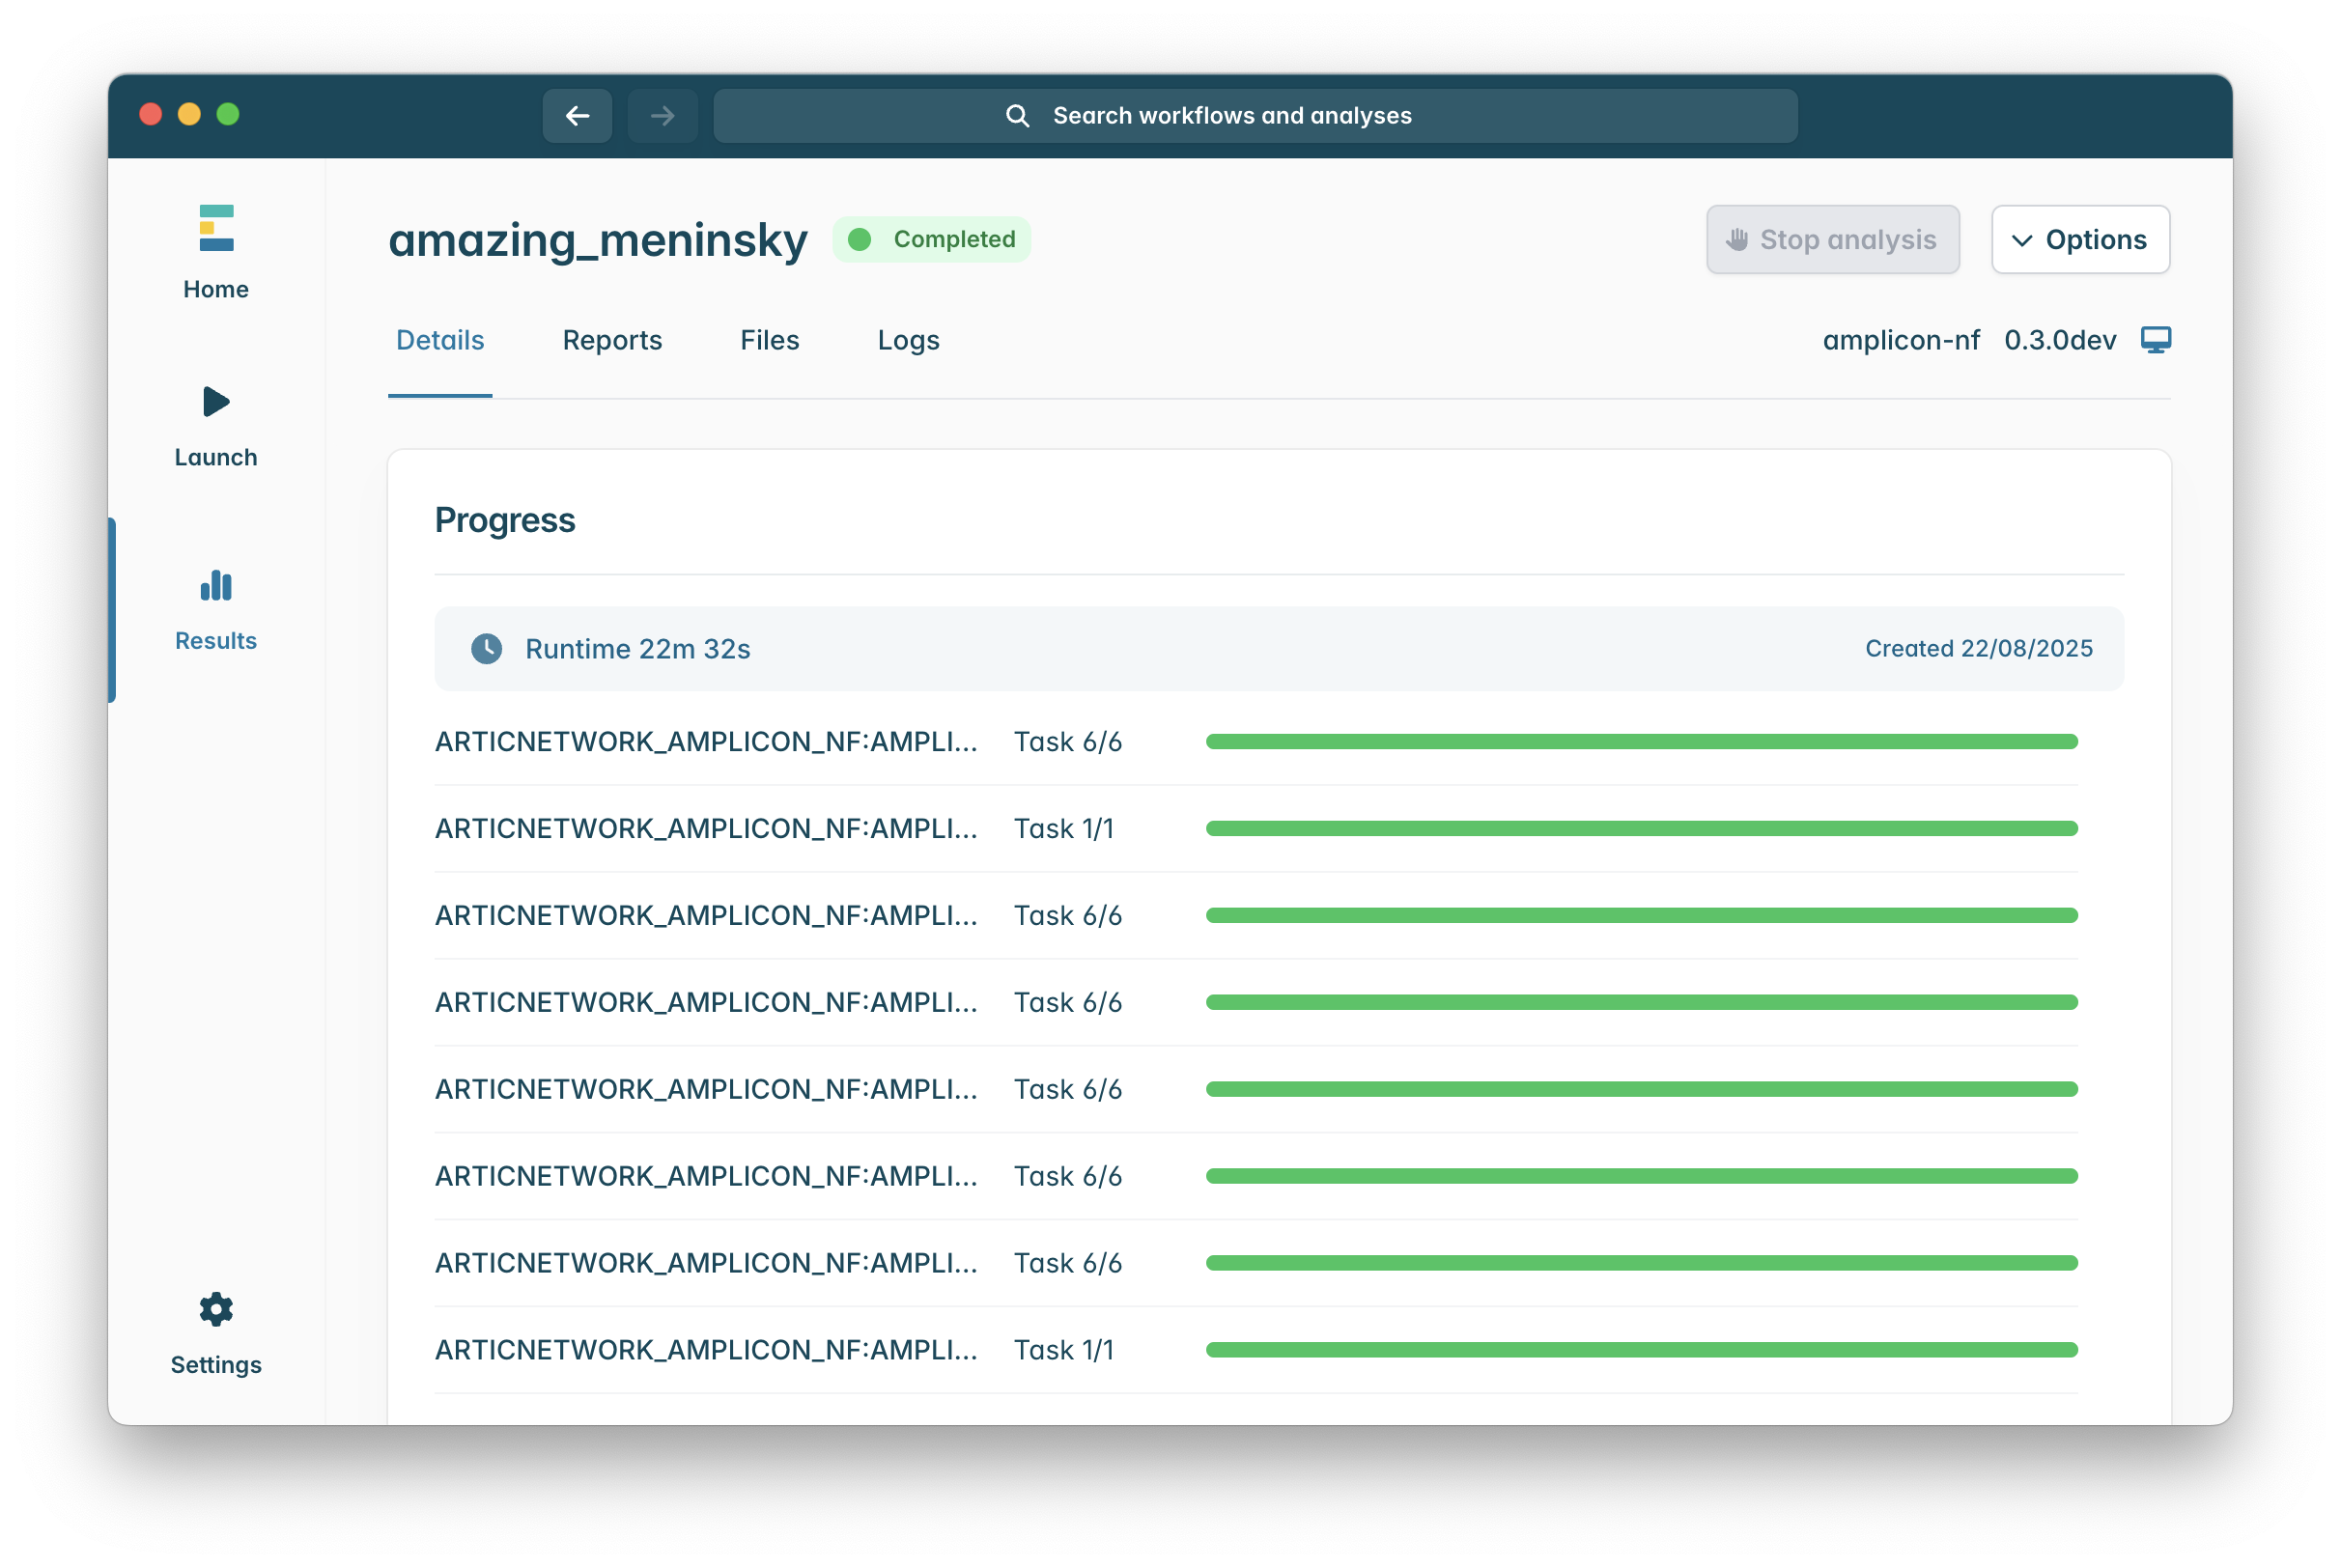
Once you launch the workflow you will be shown a run progress screen which will show you currently running processes of the pipeline, this will update as the pipeline runs.
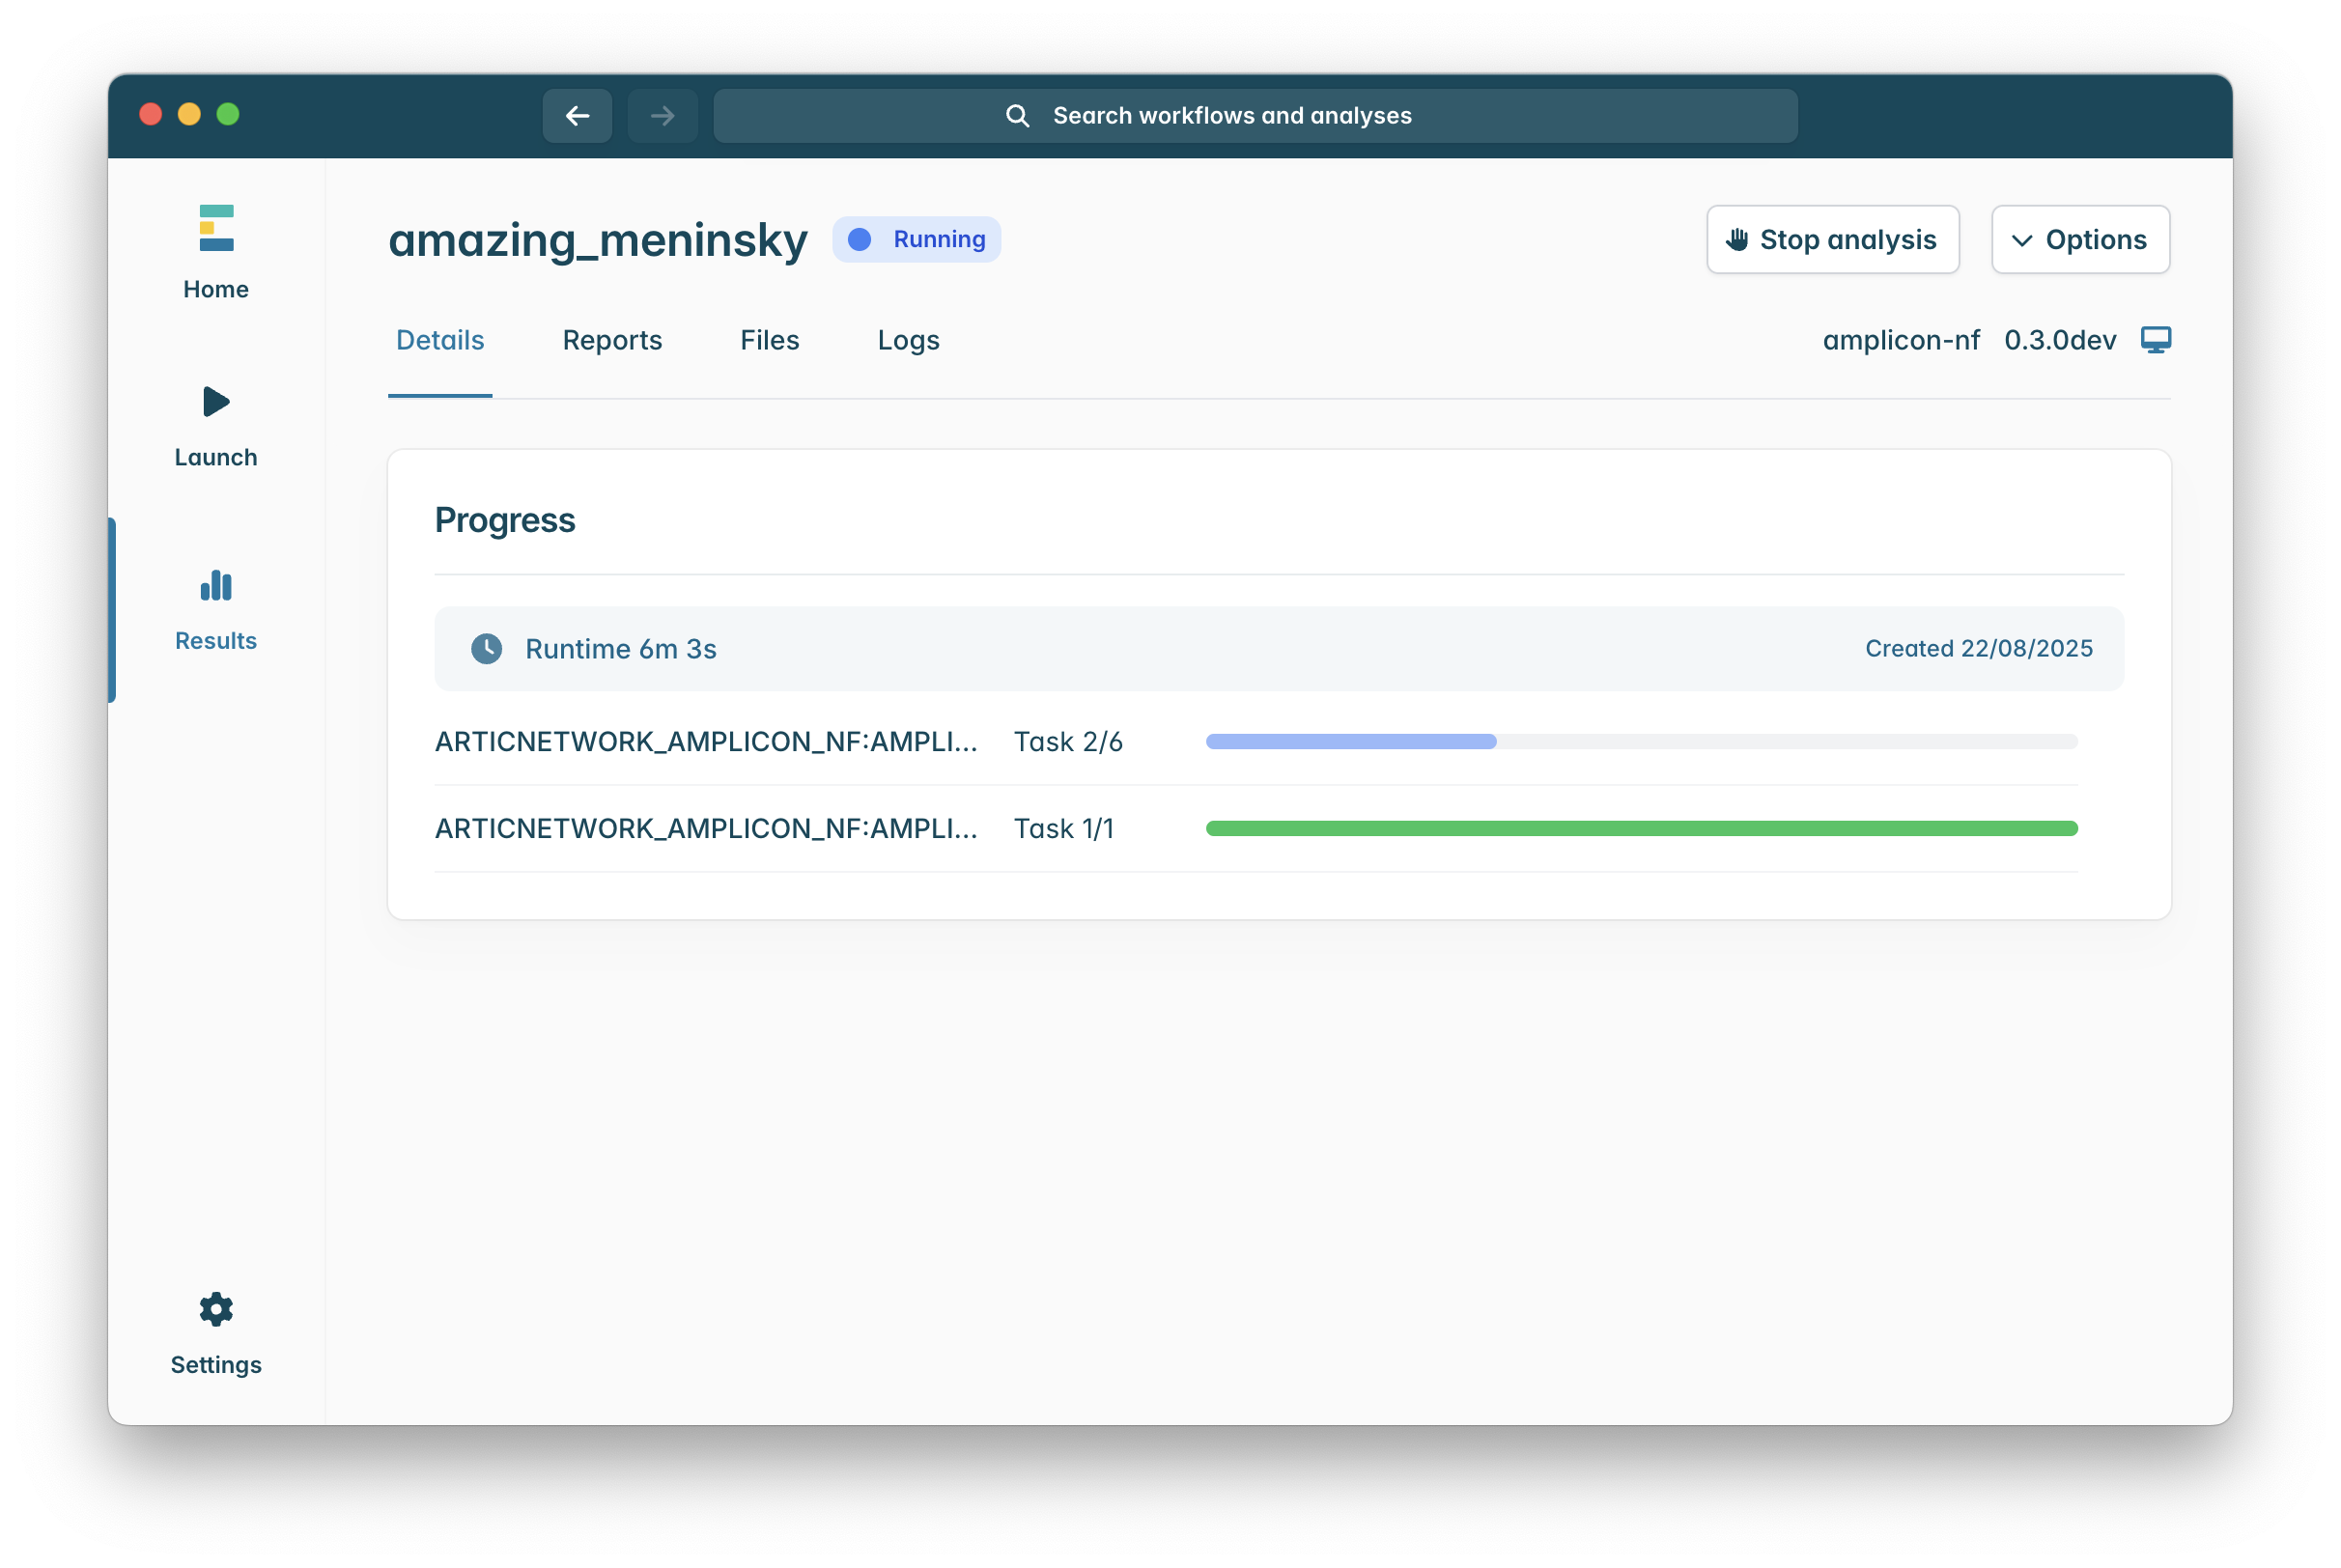
When the workflow has finished the “Running” icon at the top of the window will be replaced with a “Completed icon, sometimes due to how epi2me works a run can be completed some specific processes will not appear to have finished, do not worry if this is the case, so long as you see a green “Completed” as in the image below the pipeline finished successfully!
Hopefully you will encounter no issues while running the pipeline, in which case, you might wish to read our epi2me amplicon-nf outputs guide which will walk you through the different output files, their formats, and how to access them from the epi2me client.
However, if you do encounter any issues we have a dedicated document which details problems you may encounter and their possible solutions on the amplicon-nf repository. Please check here when you encounter problems but if your problem is not described there or the solutions do not help please consider creating a github issue so we can discuss it with you directly!